まず始めに、monoFab Player AMをPCで立ち上げます
At first, start “monoFab Player AM” from this icon
立ち上がるとこのような画面になります
When you start, it will like this screen
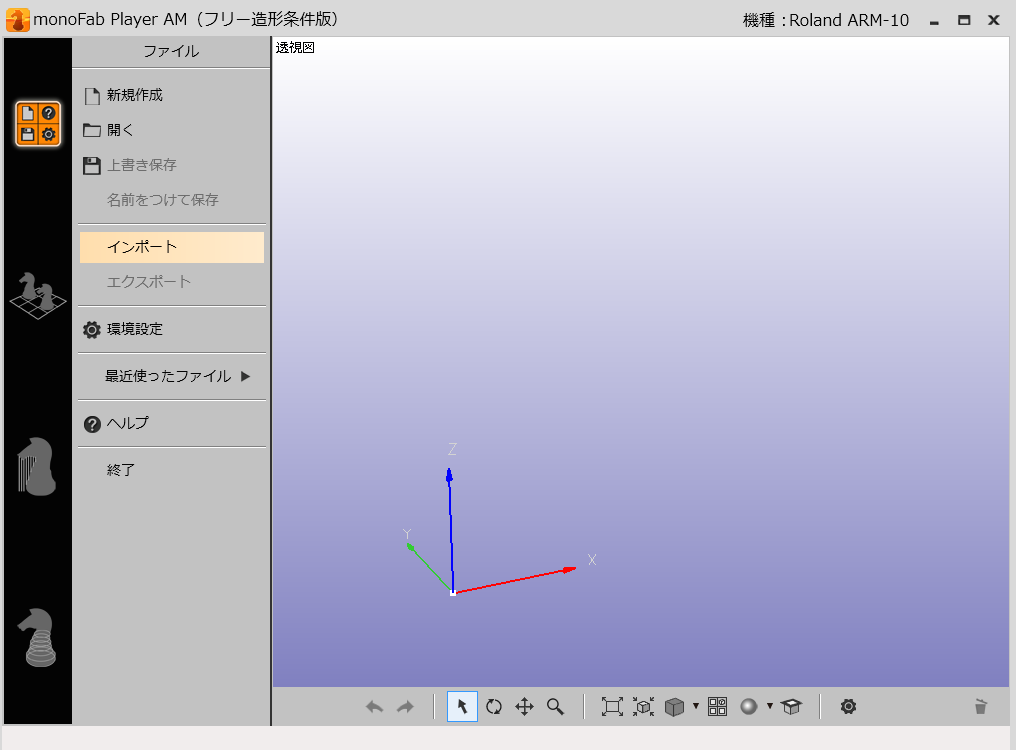
インポートを選択して出力したいstlファイルを選択します
Select the インポート(import) and select the stl file you want to print
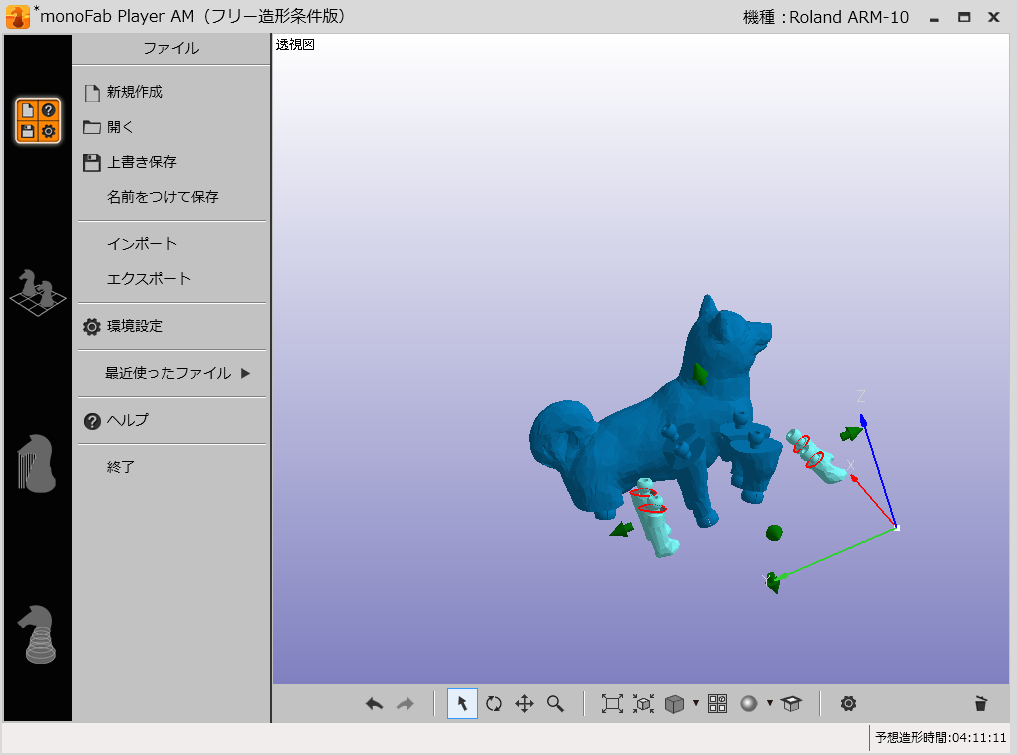
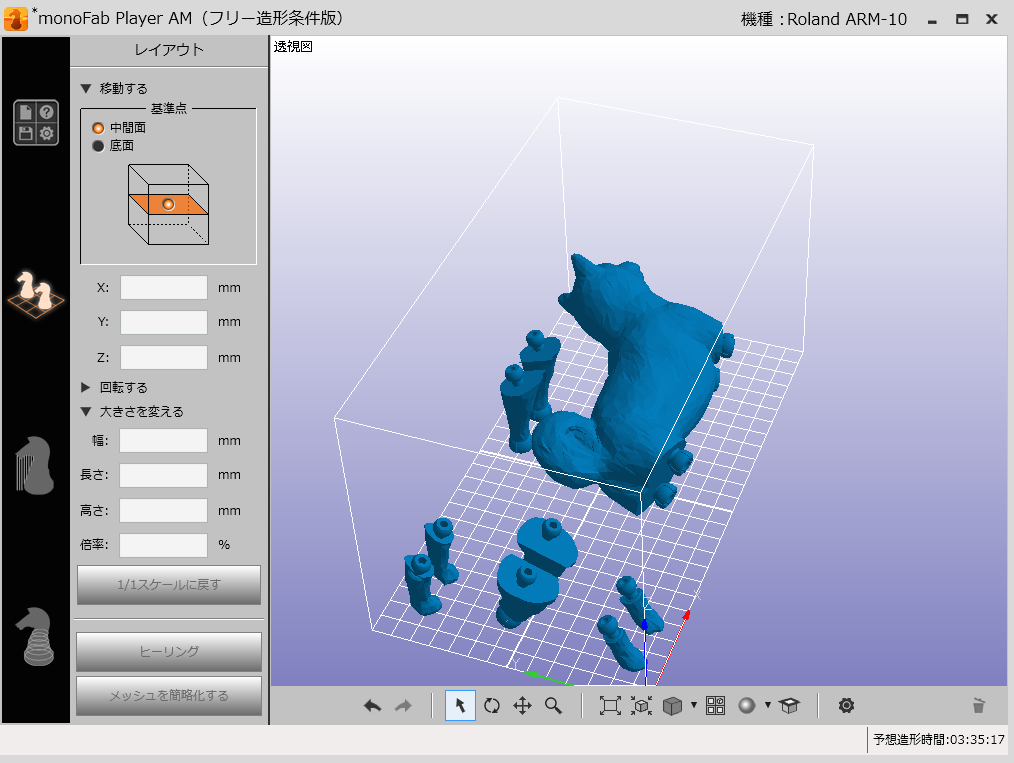
インポートが完了したら、設定ボタンの下にあるアイコンをクリックします
When the import is complete, click on the icon at the bottom of the Settings button

“ヒーリング”ボタンを押してデータの欠陥が修正します(上の画像と比べると赤かった足の部分が修正されているのが分かります)
Click the “ヒーリング(healing)” button to correct defects in the data(You can see the image as compared with the reddish was foot part of the above have been corrected)
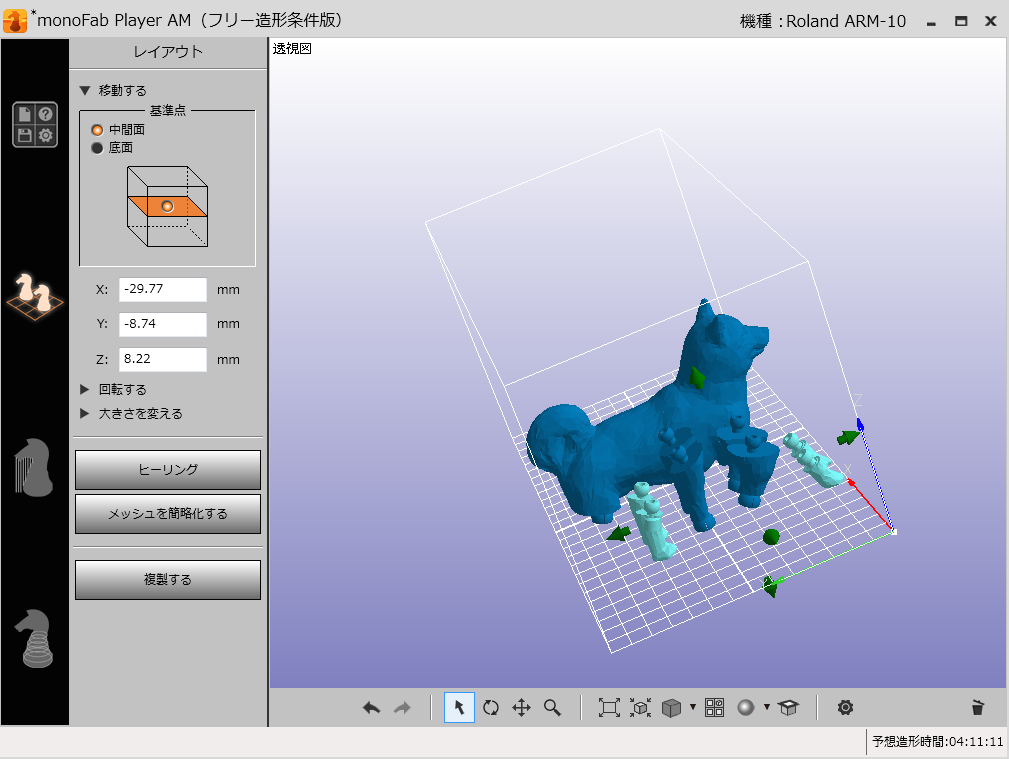
次に、出力しやすいように移動や回転など並び方を整理します
また、ここの”大きさを変える”で倍率の変更も可能です
Then, to organize such as moving or rotation to make it easier to output
monofabは天井のテーブルに出力物が引き上げられていくので、テーブルに重量の負担がかからないよう、テーブルと出力物の接する表面積が少なくすると造形不良のリスクを下げられます
並べ終わったら、配置アイコンの下にあるアイコンをクリックします
When you have finished side by side, and then click on the icon at the bottom of the placement icon

ここで”サポートを生成する”をクリック

サポートが生成されたら、サポートの削除や追加を行うことができます
When the support is generated, you can do the support of deleting or adding
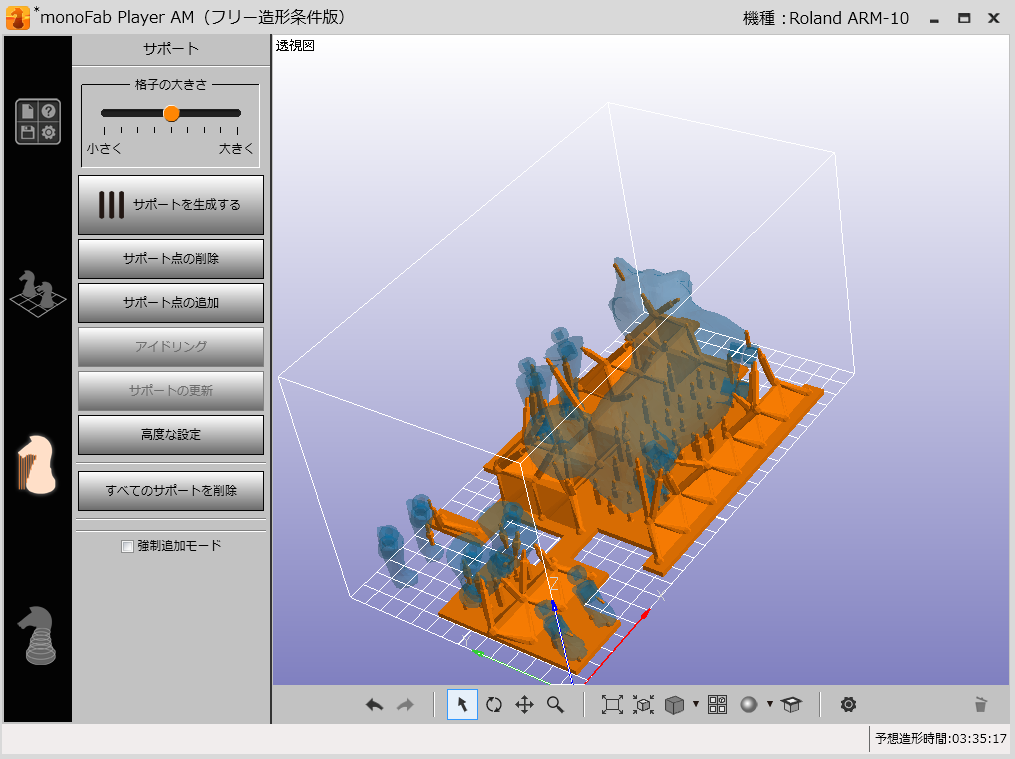
サポートの追加は、出力時に不安なパーツに、サポートの削除は、意図して作った穴がサポートで埋められたりした時に使います
サポートの調節が終わったら、サポートアイコンの下のアイコンをクリックします
When you have finished the adjustment of the support, and then click below the support icon in the icon

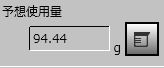
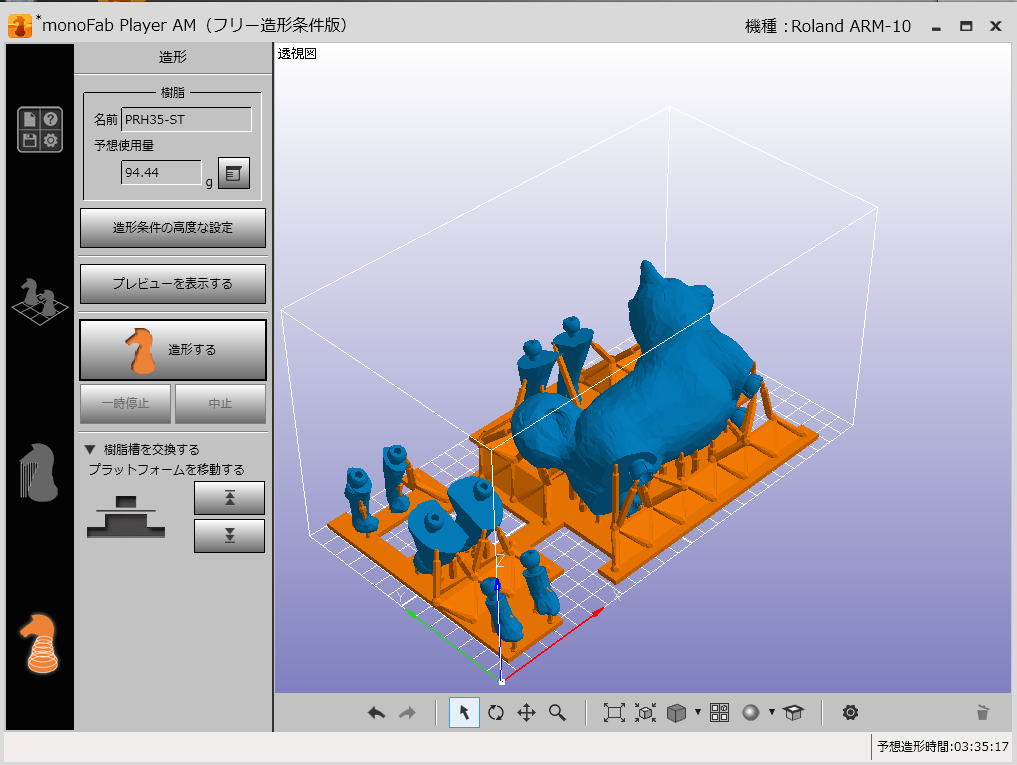
ここで画面左上にある予想使用量の右側にあるメモマークのアイコンをクリックすると、必要な樹脂の量が表示されます
If you now click the memo mark icon on the right side of the expected usage in the top left of the screen, you will see the amount of the required resin
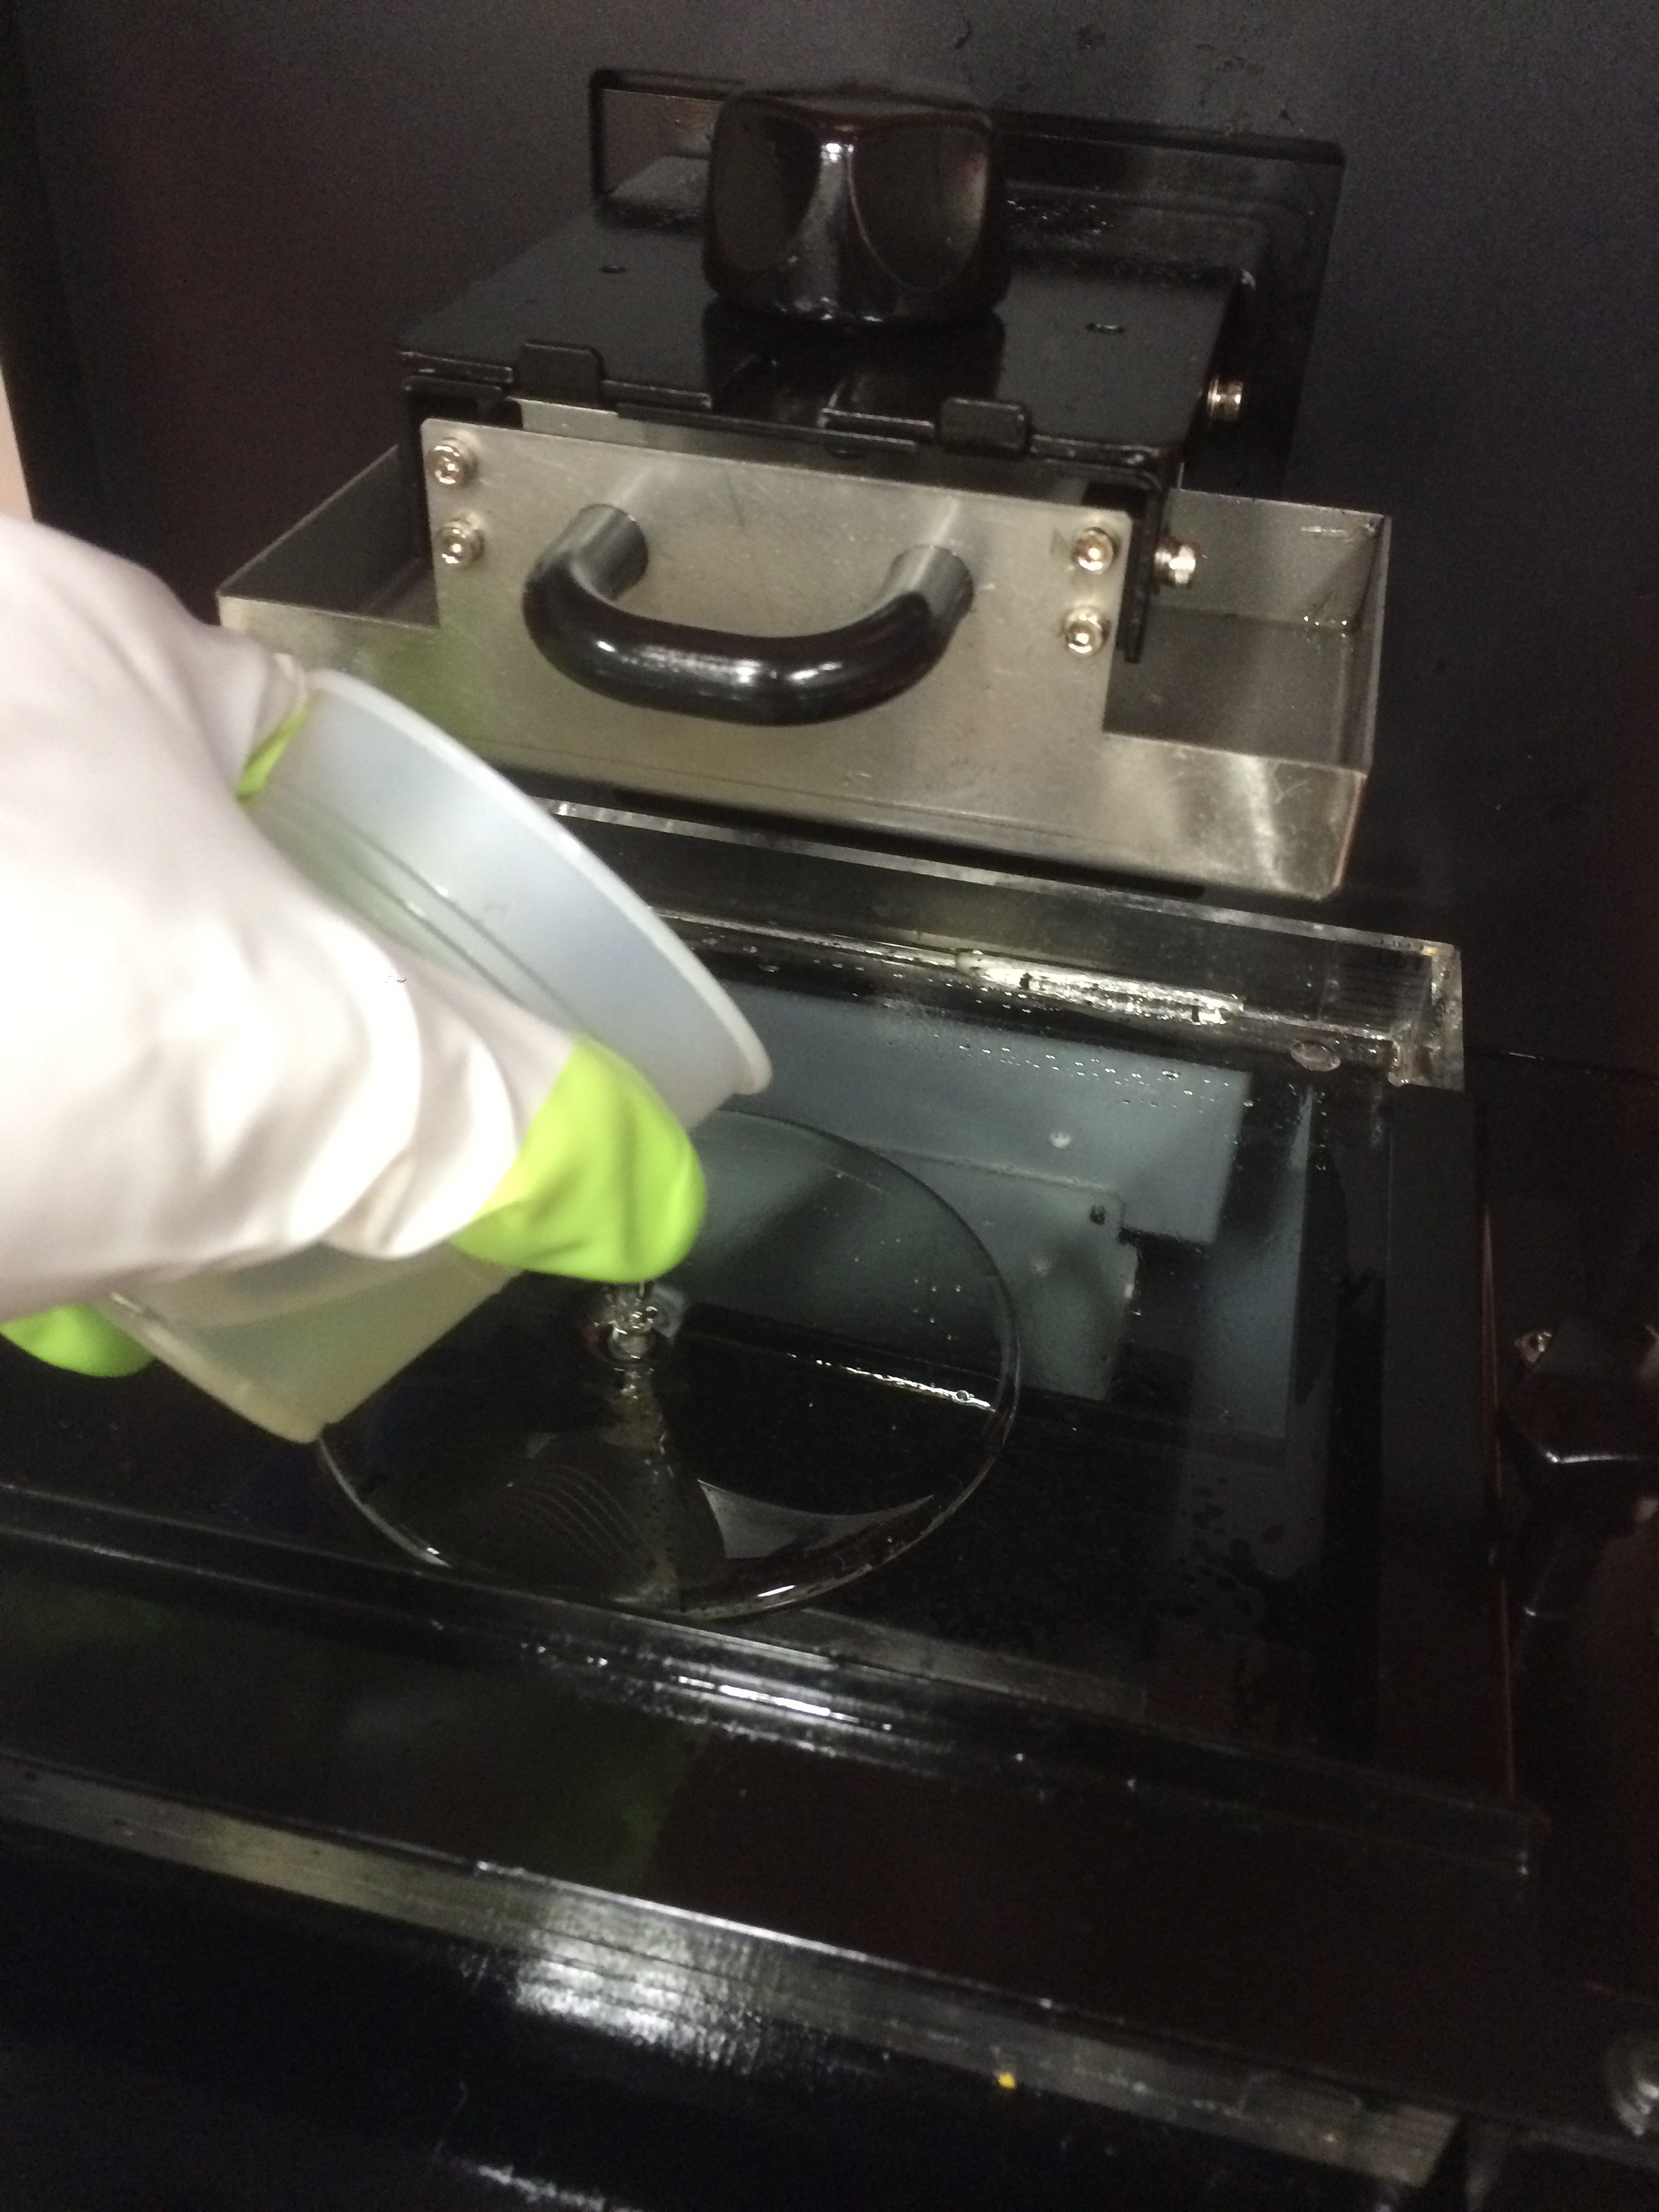
次に樹脂層に樹脂液を入れます
Next, put the liquid resin in the resin tank
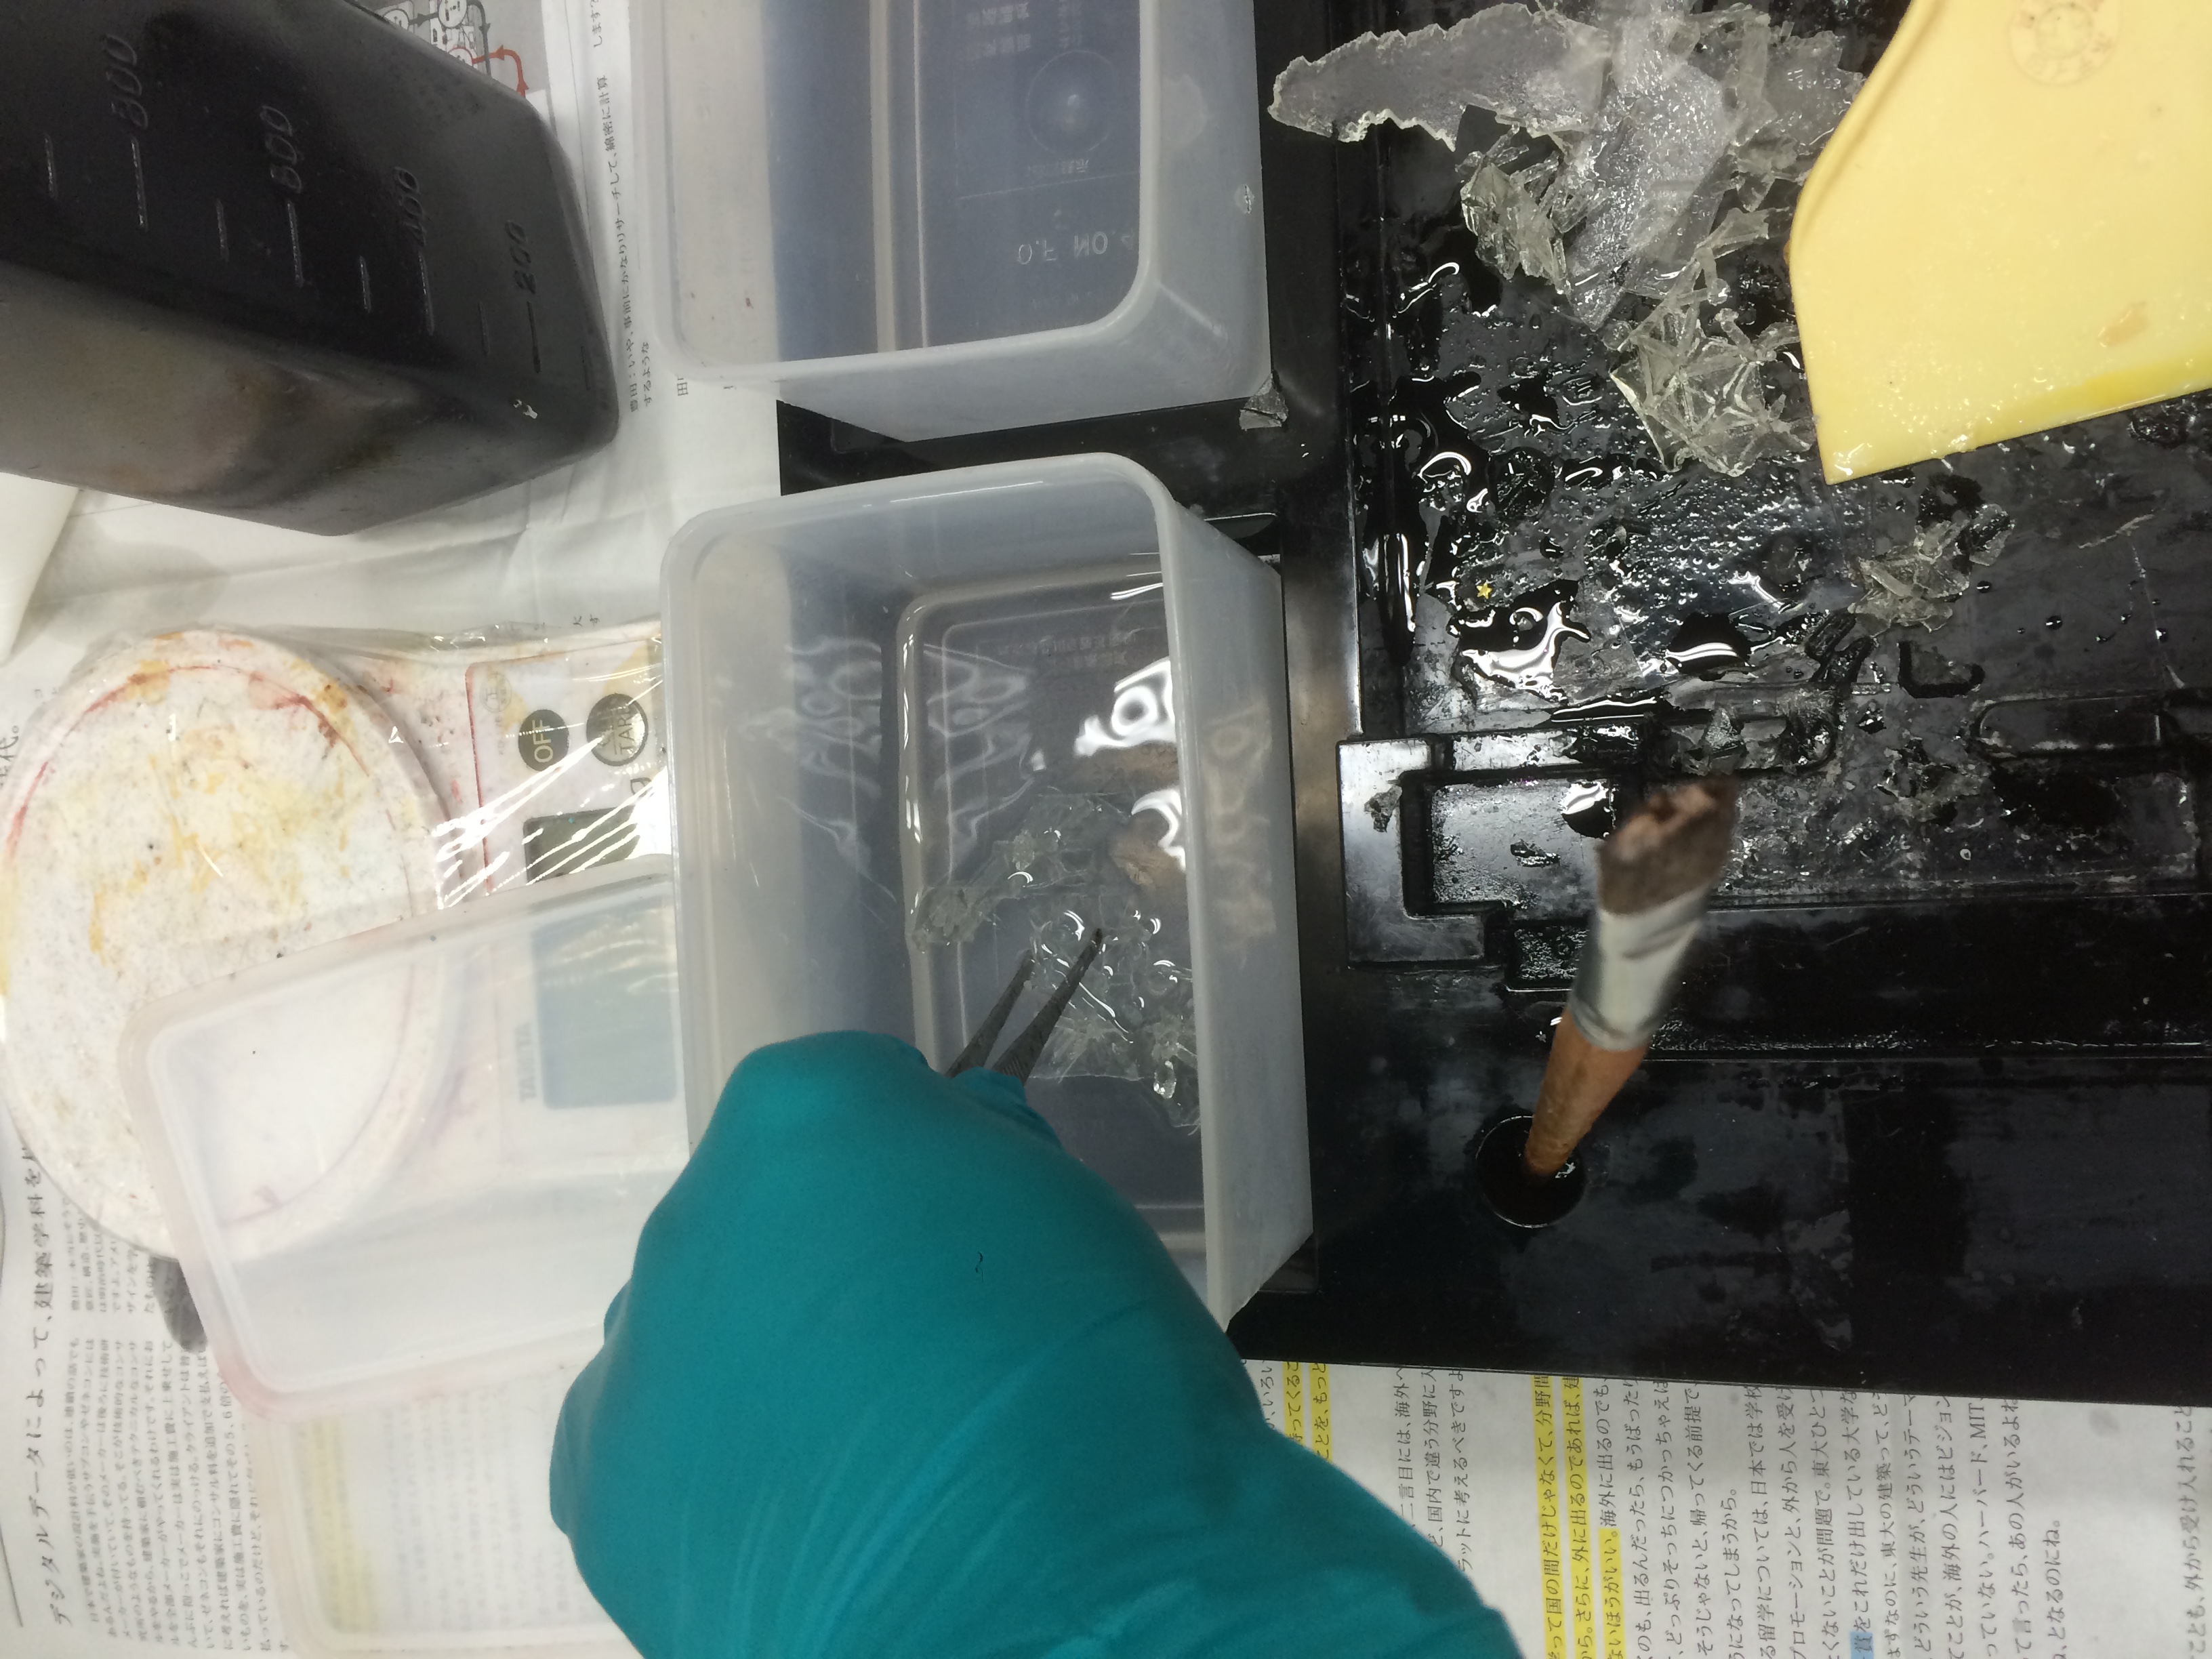
樹脂液はとても危険なので、必ずゴム手袋を使って作業をしてください
Please be sure to rubber gloves
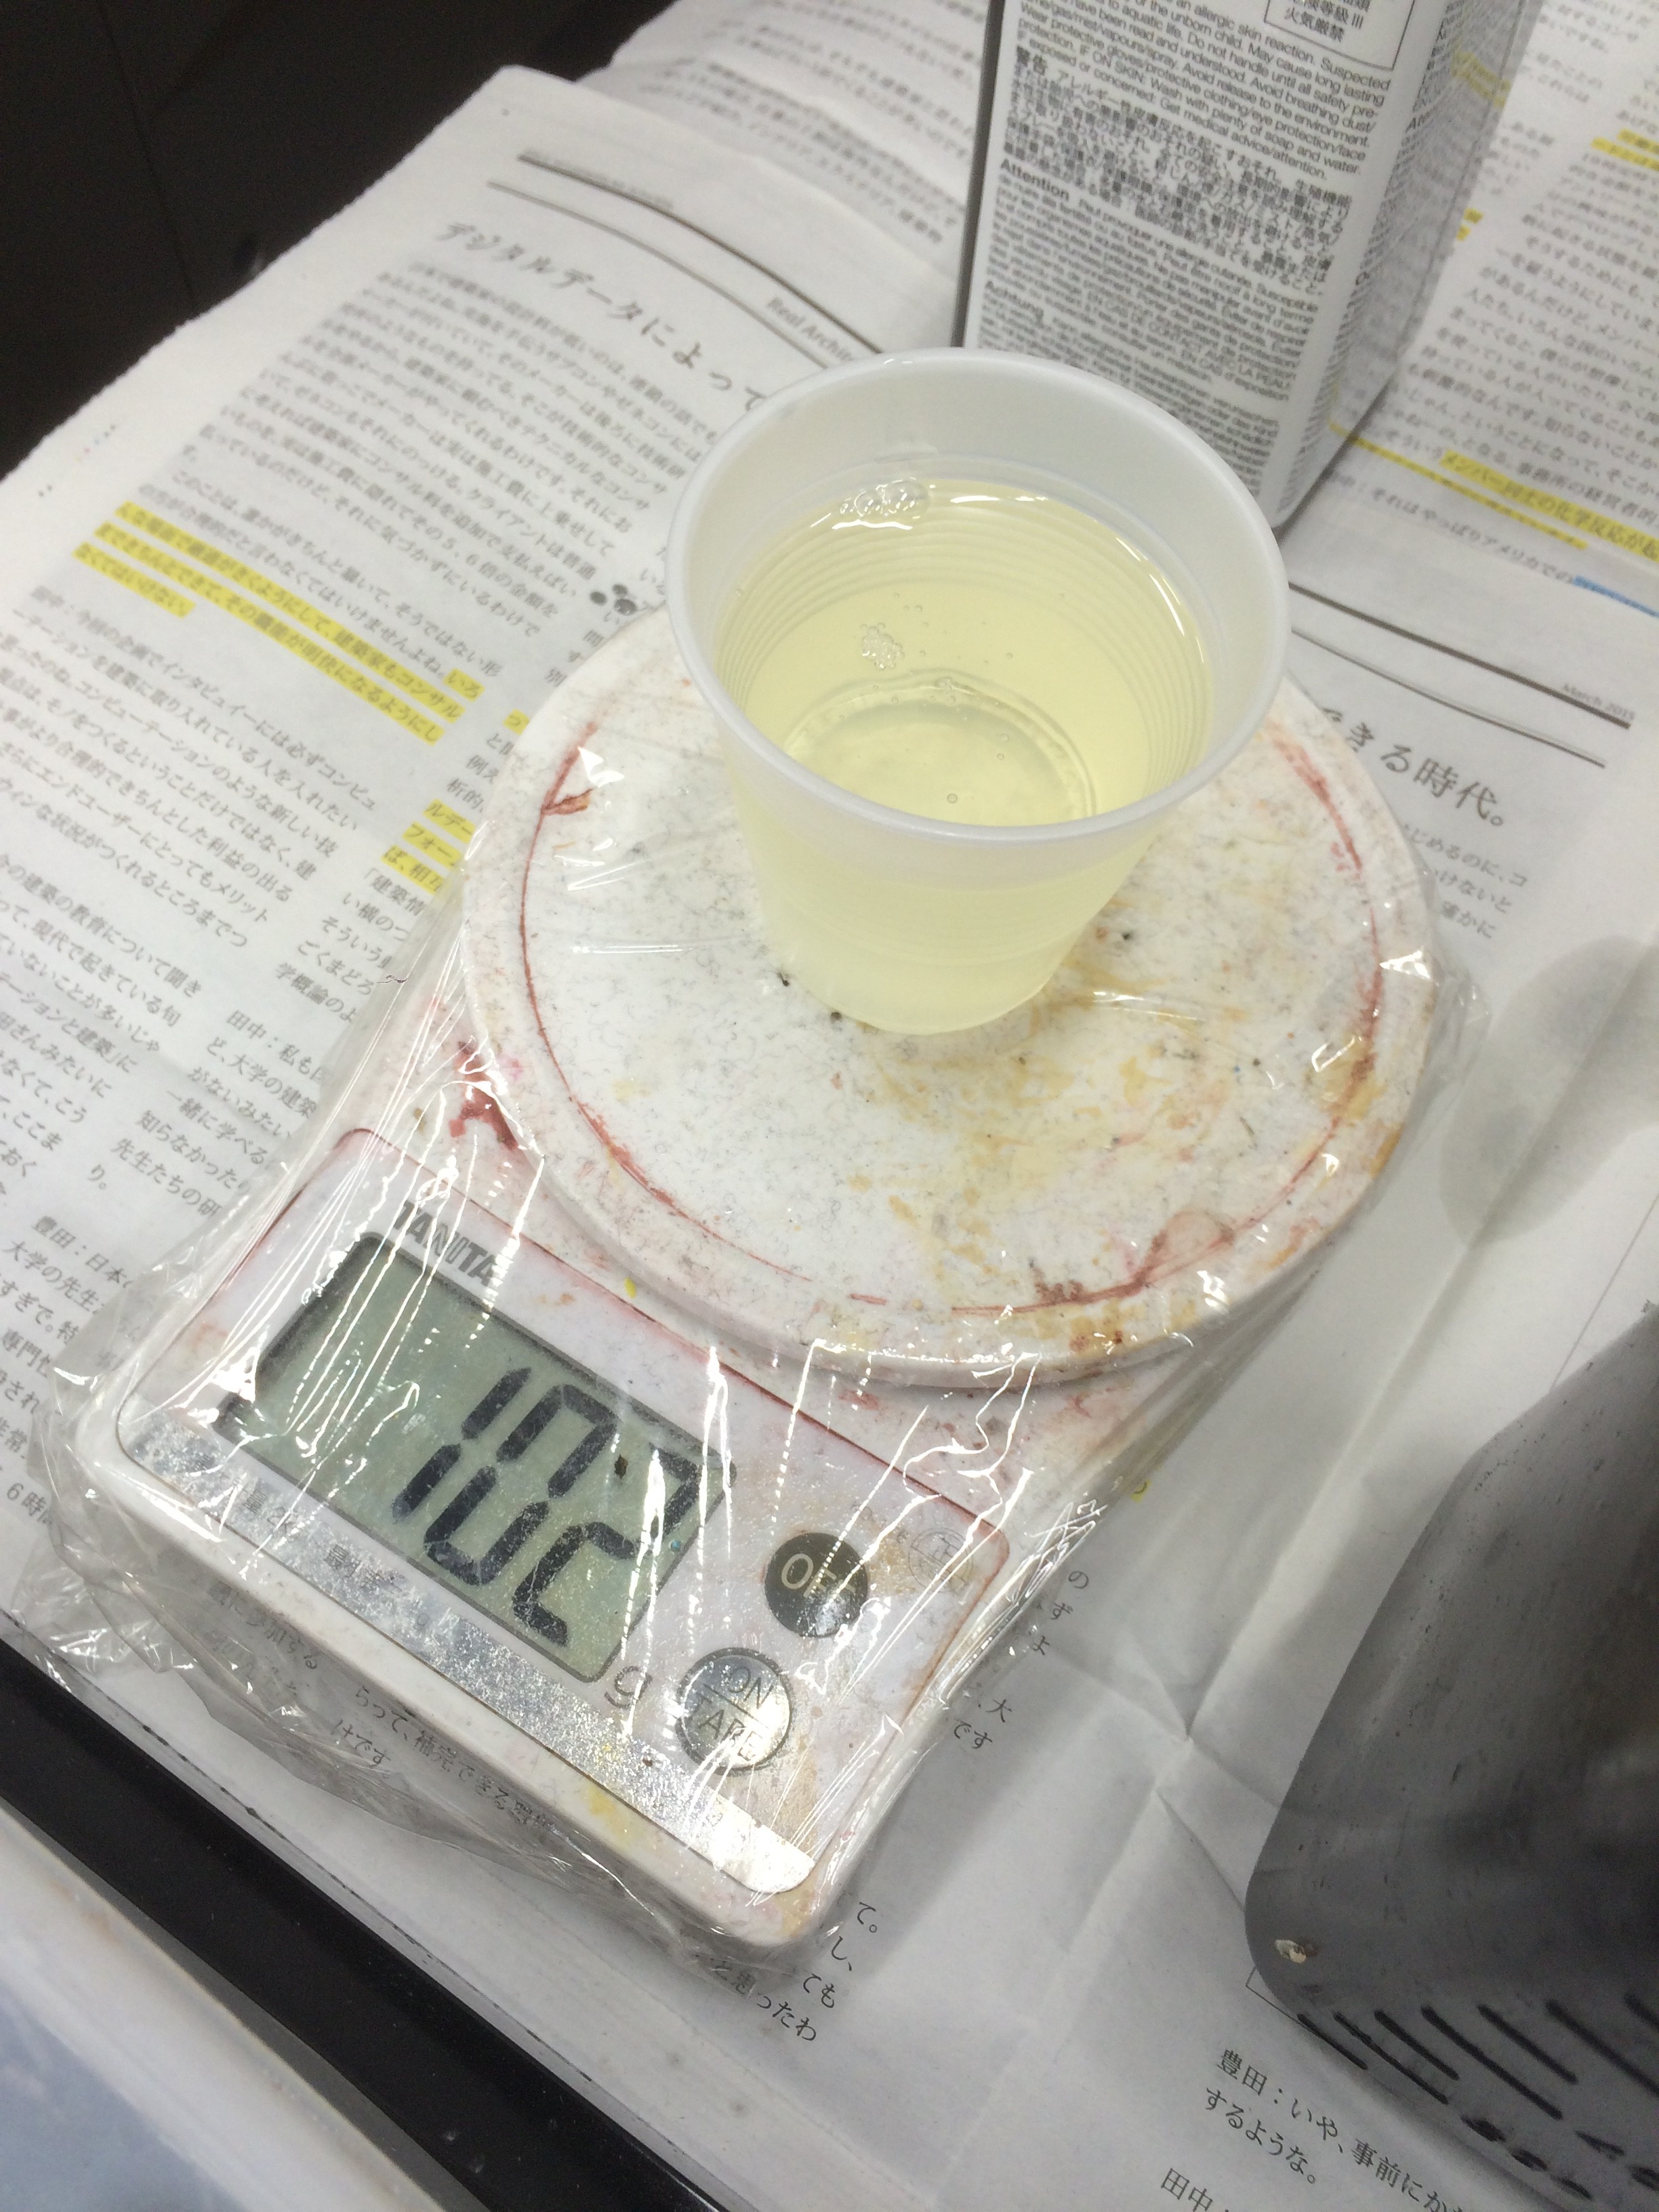
樹脂液を計りながらカップに入れます
Put in a cup while weighing the resin solution
※この時、表示された液量より5~10g多めに入れると液不足による造形不良を防ぐことができます(In this case, you can prevent the failure modeling due to put in when the liquid shortage in 5 ~ 10g larger amount than the amount of liquid that has been displayed)
入れ終わったら実際に液槽に入れます
You put in a liquid tank When you have finished entering
造形不良を防ぐために、出力テーブルに樹脂がいくよう、樹脂は奥側に流し込みましょう
樹脂を入れ終わったらカバーを閉じて”造形する”ボタンをクリックすれば出力がはじまります
Close When you have finished entering the resin cover output by clicking on the “造形する” button will start
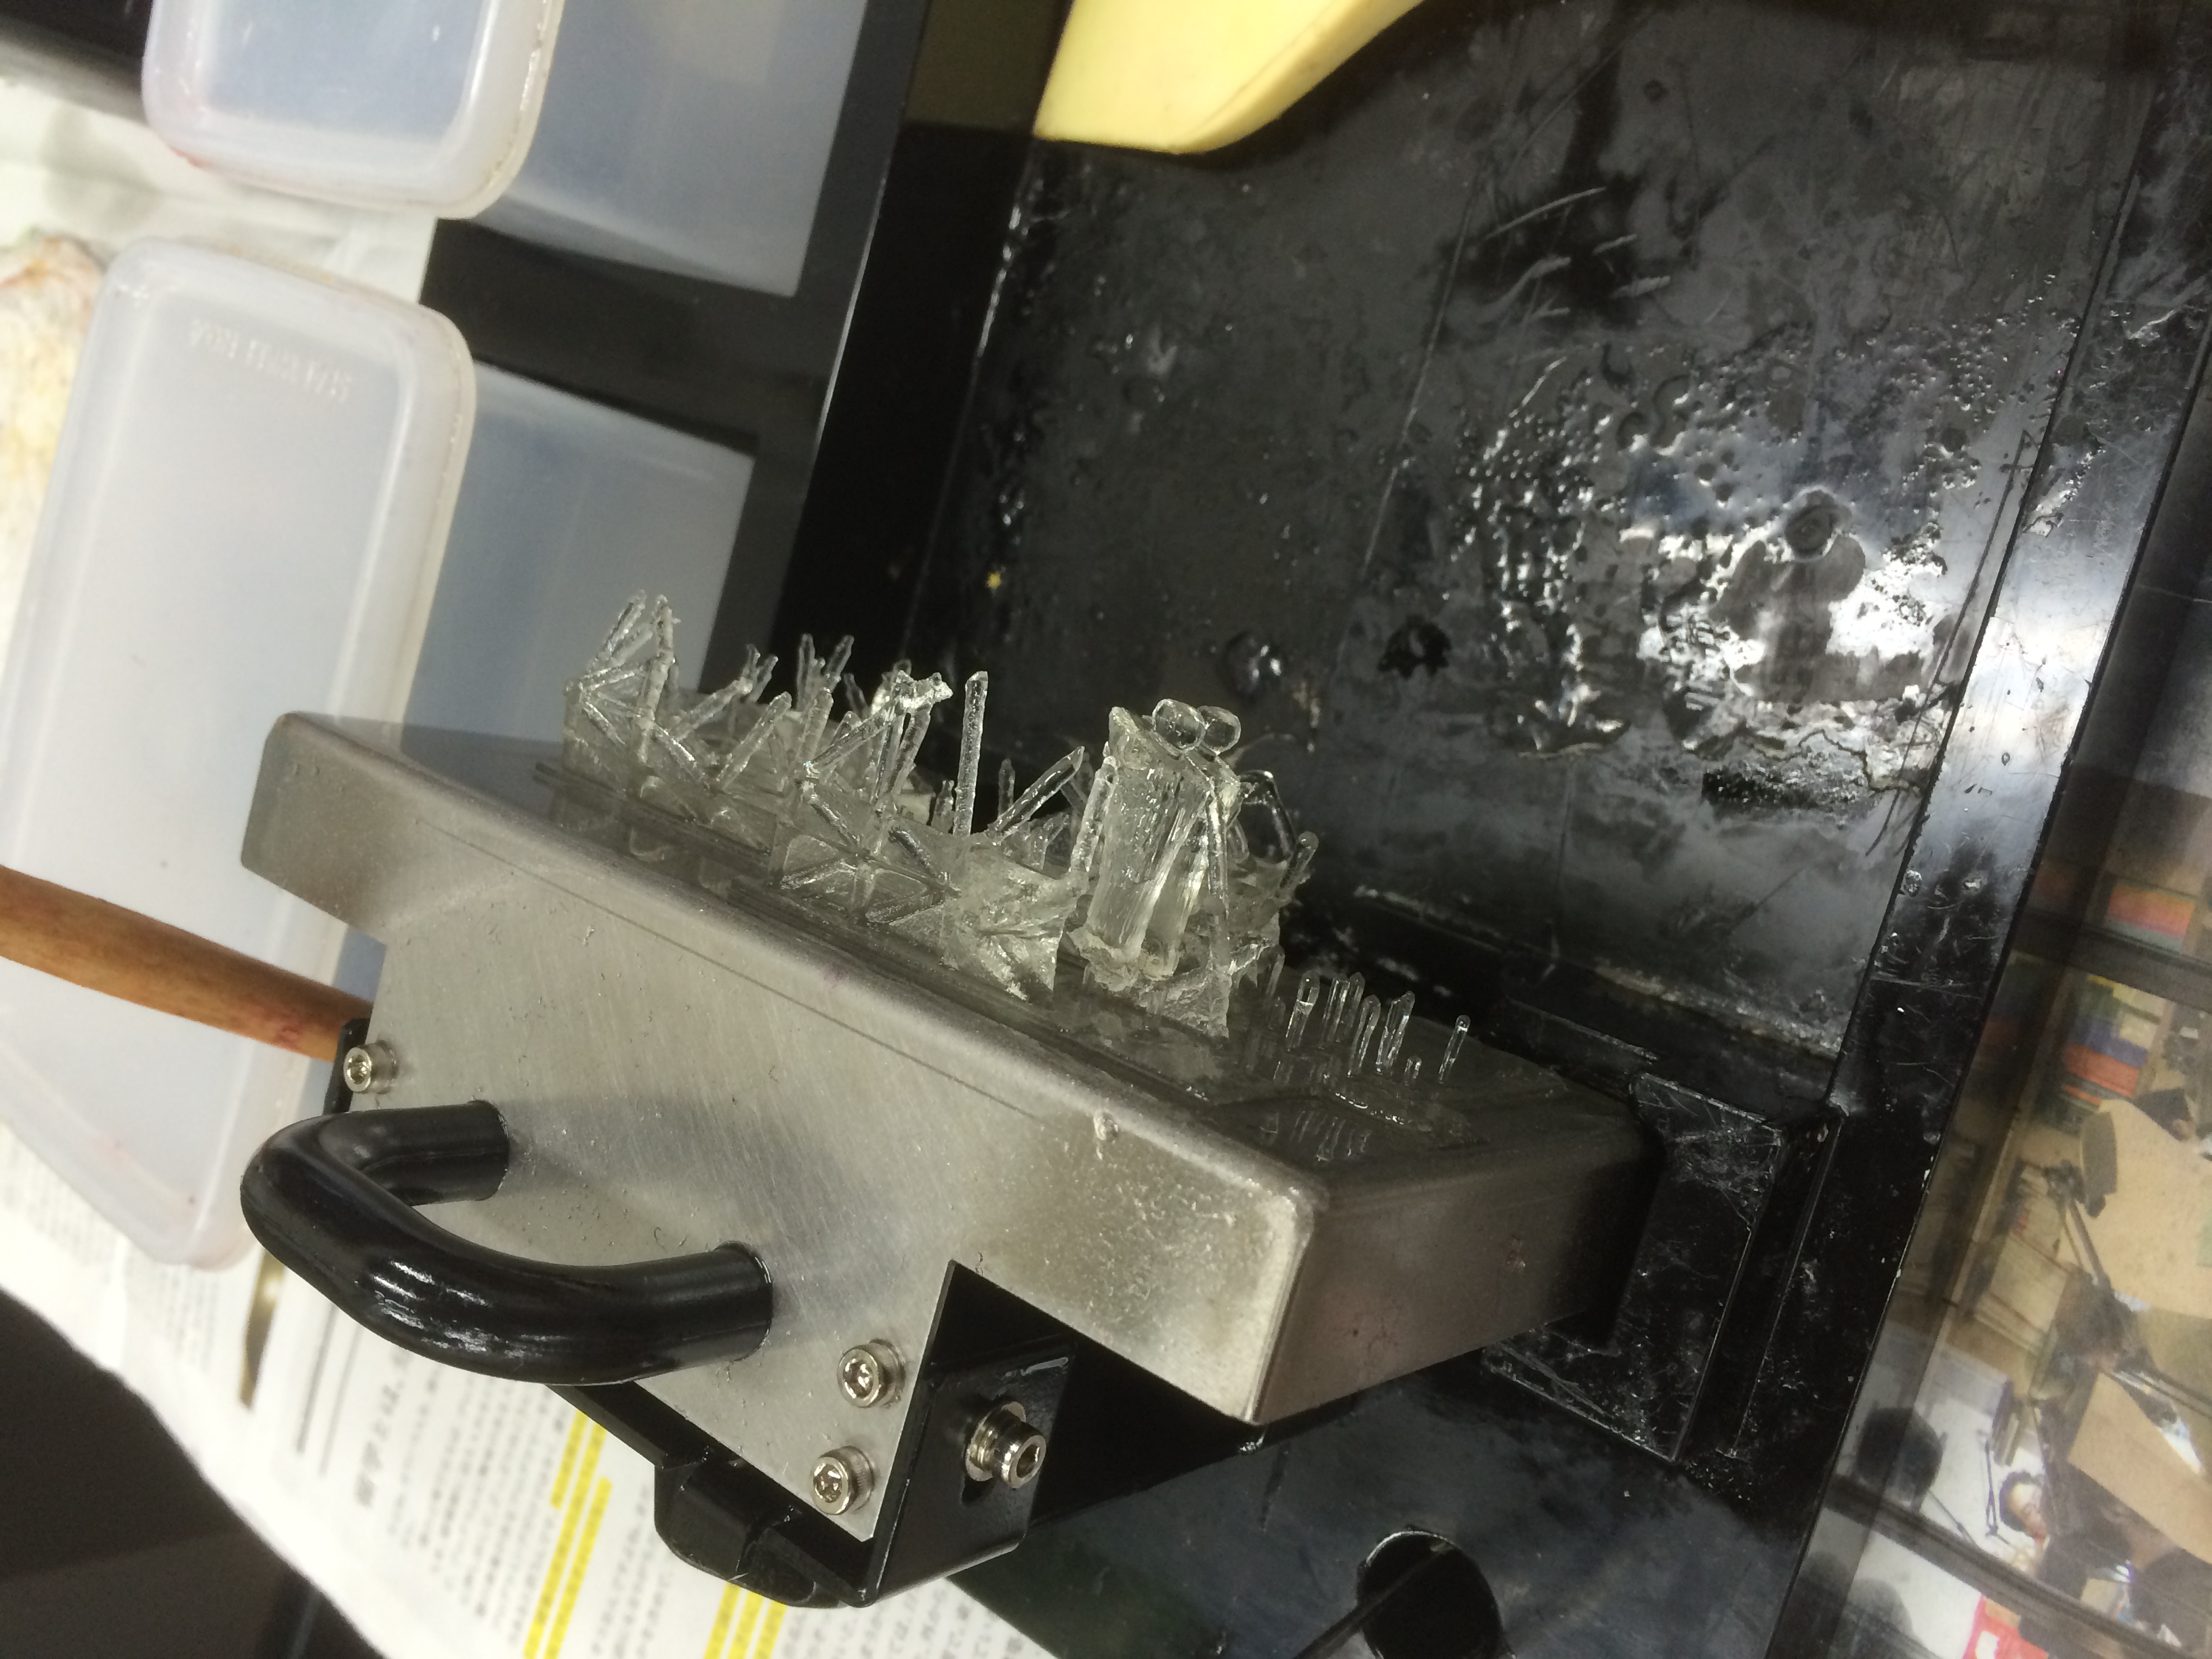
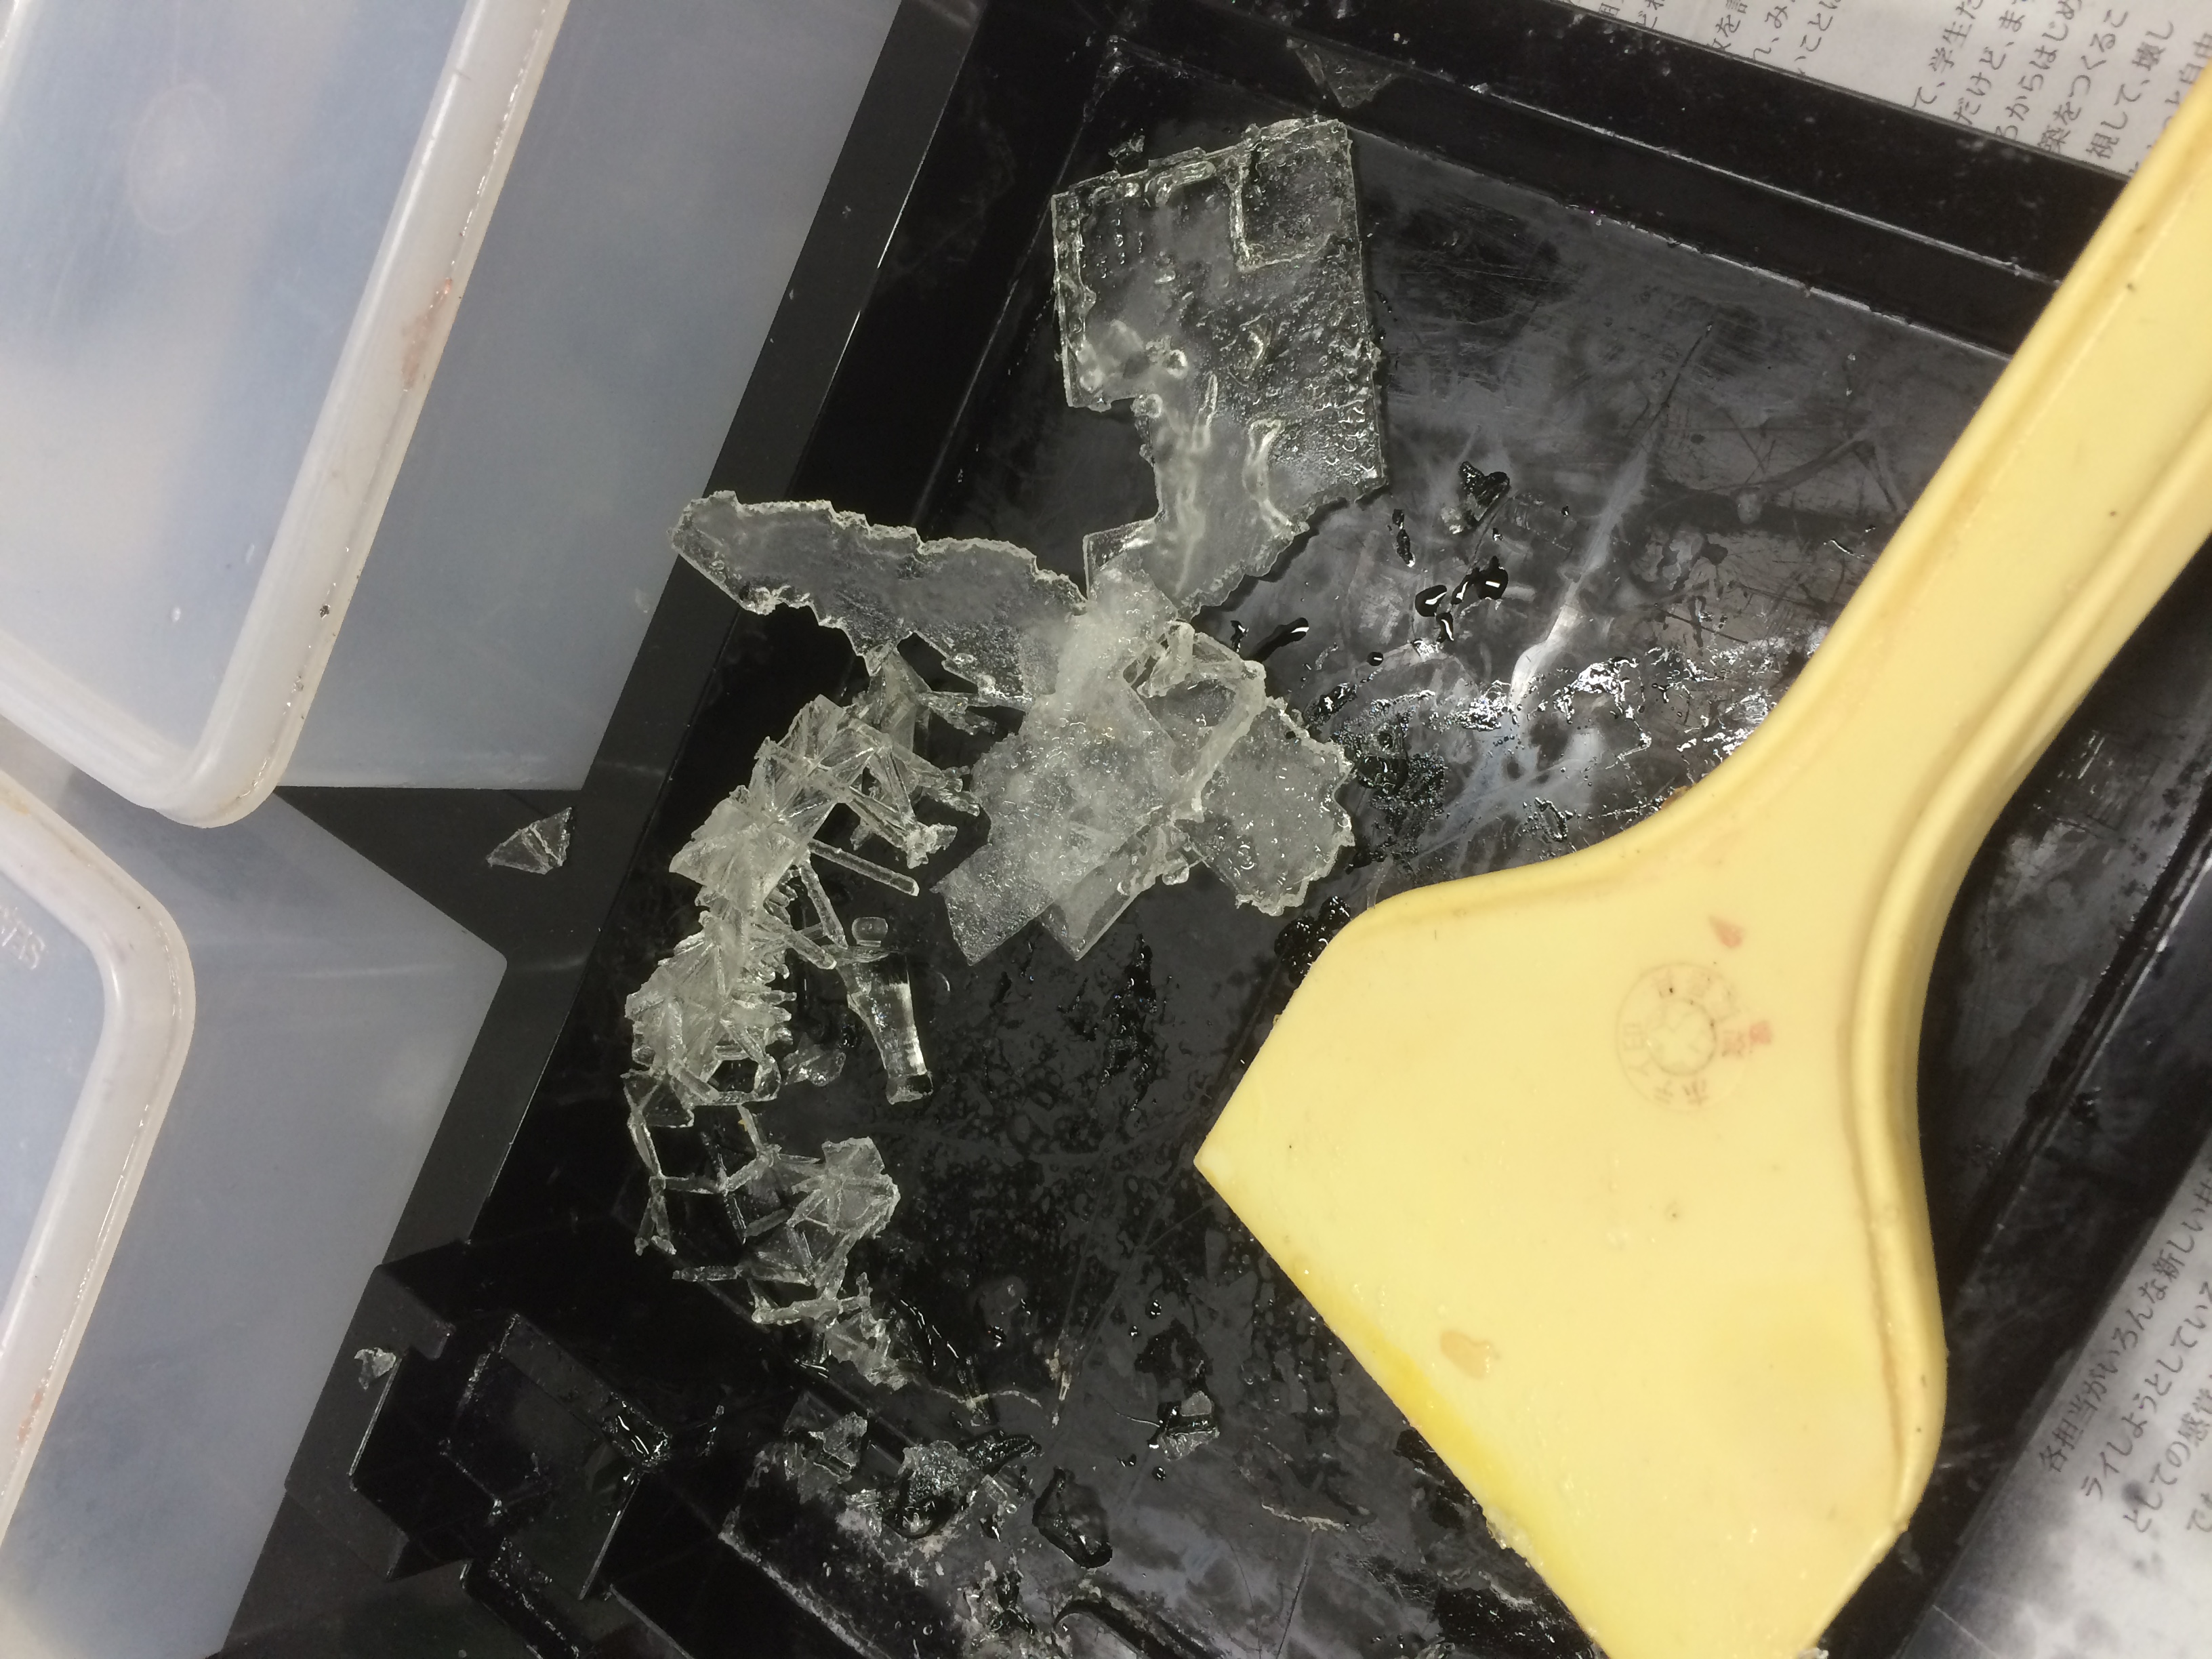
完成したら台の両ネジを外して、台に載せてヘラを使って取り外します
Complete Once you remove the two screws on the stand, then remove with a spatula and put on a table
取り外したらエタノールを入れたタッパーに出力物をピンセットを使って洗います
Wash using to put the ethanol After removing Tupper output product tweezers
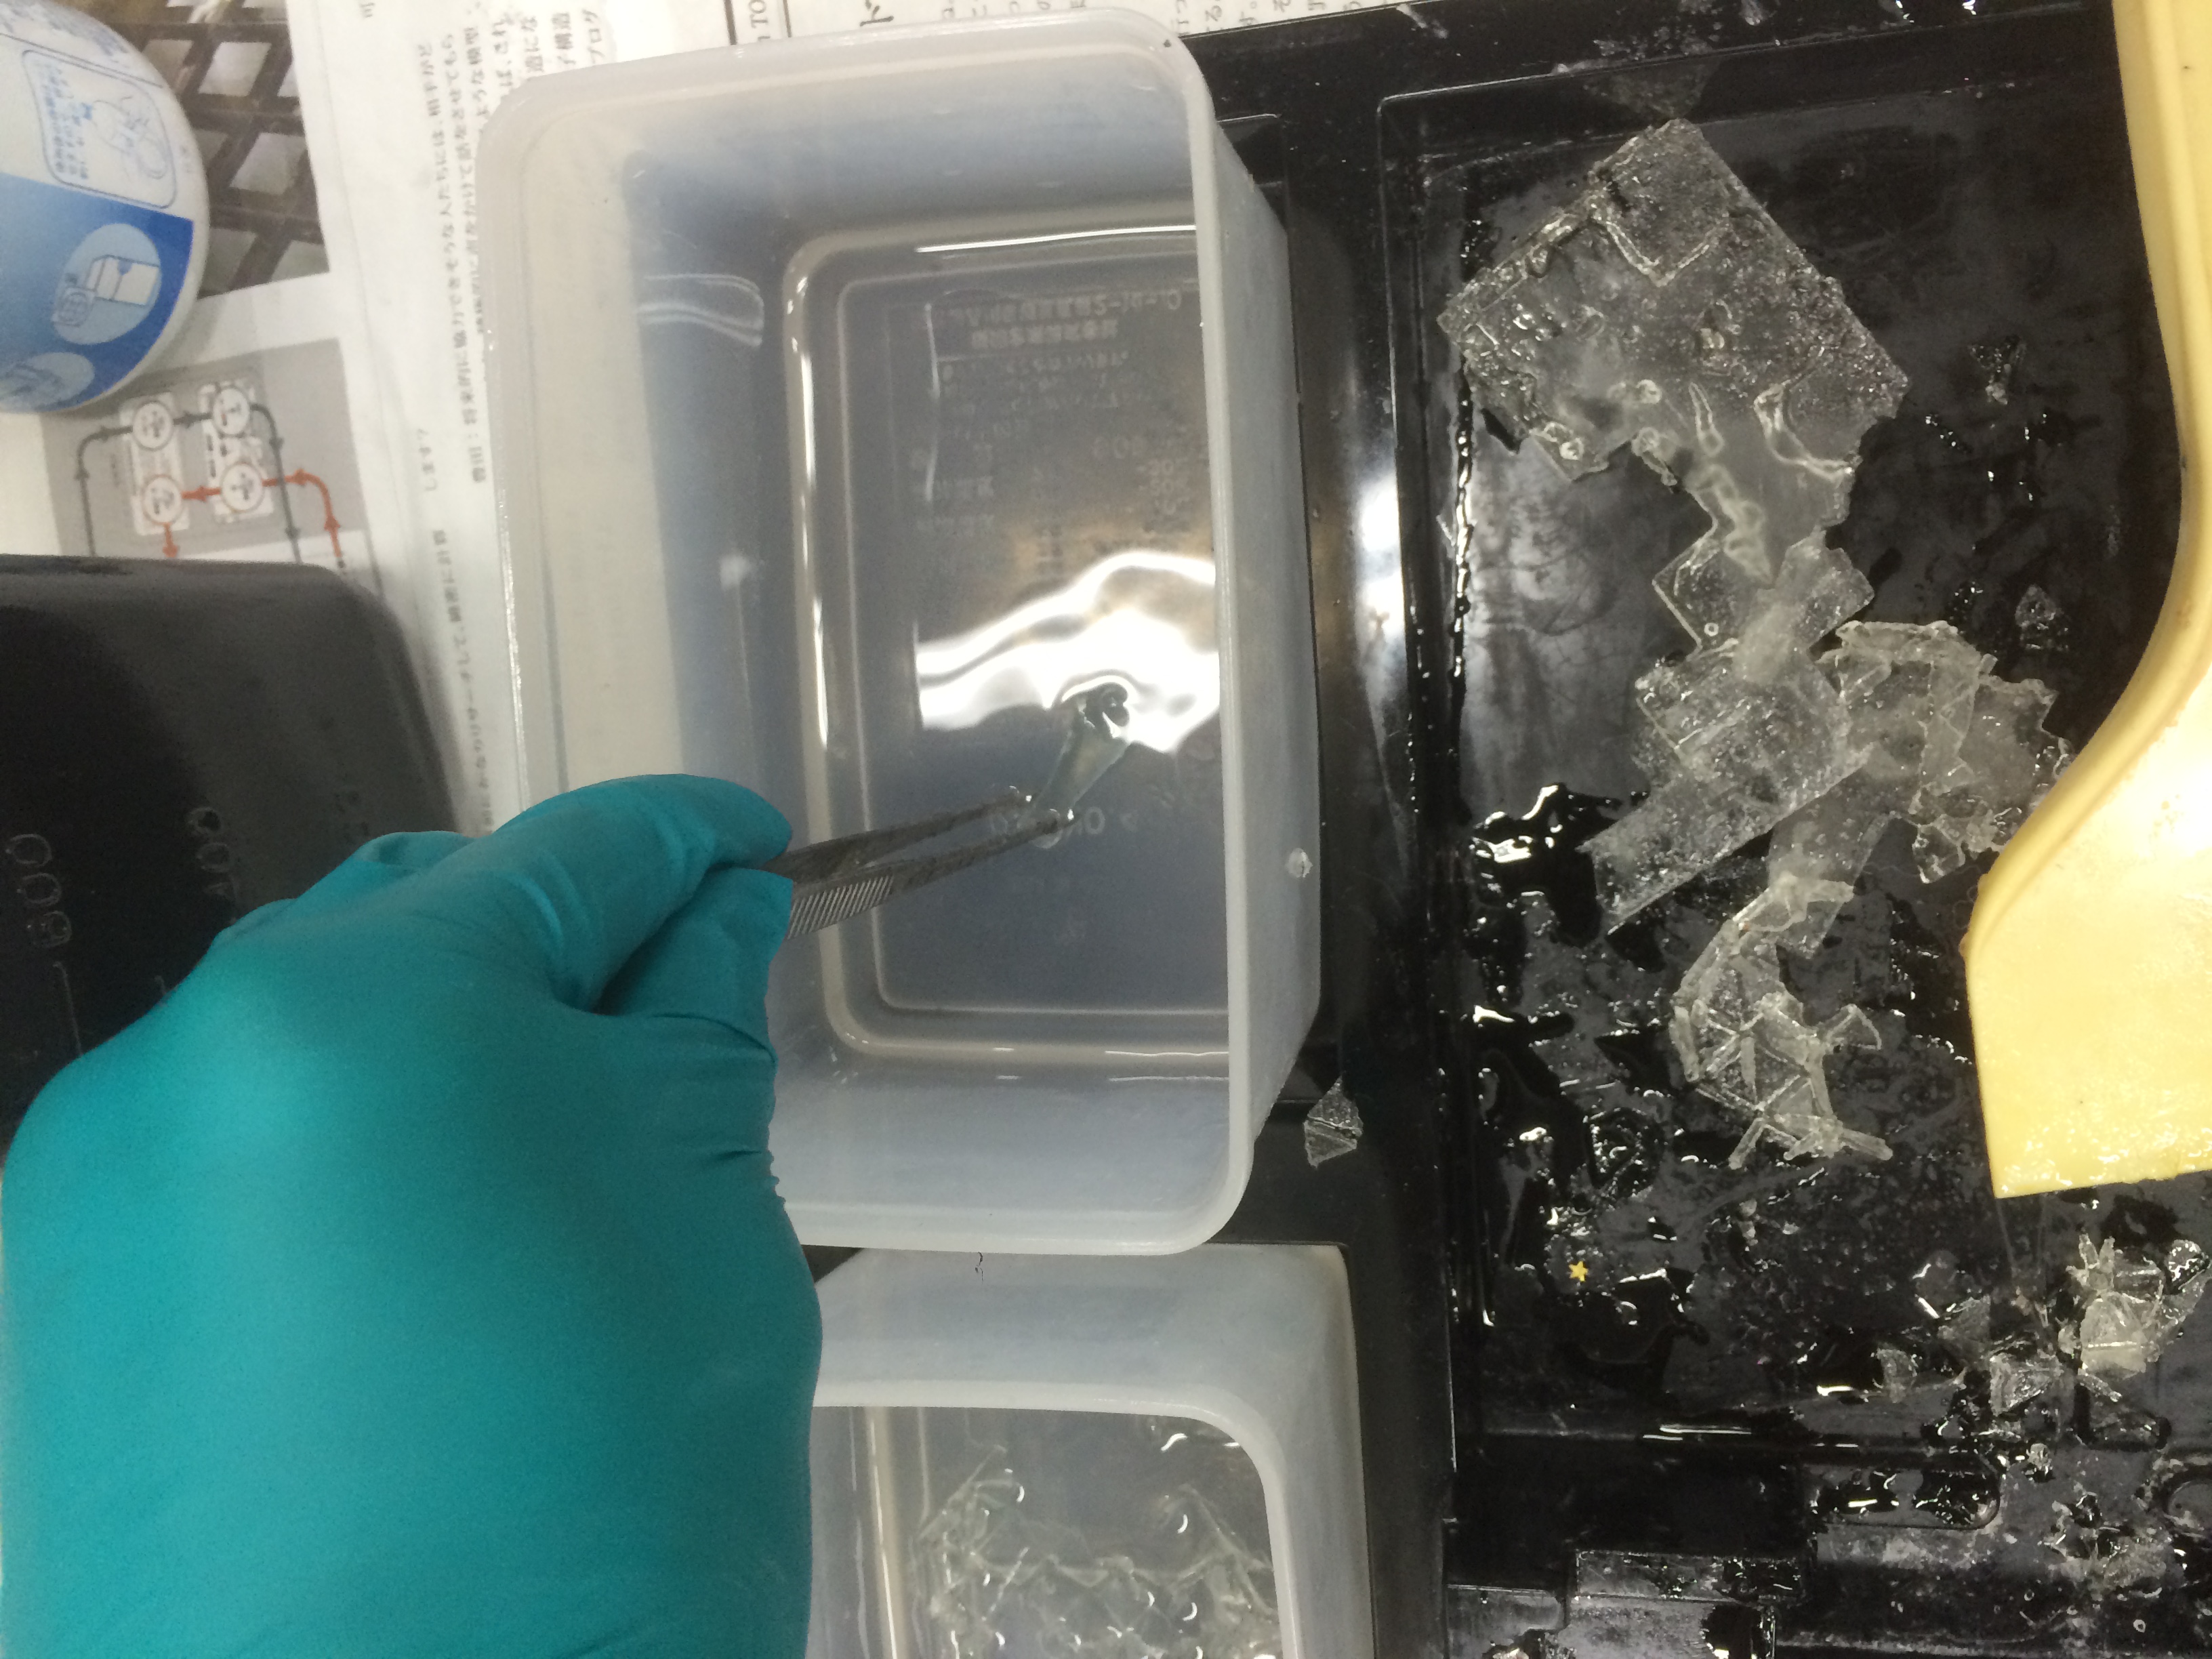
次に右側のタッパーで再度、洗浄します
Then again on the right side of the Tupperware, washed
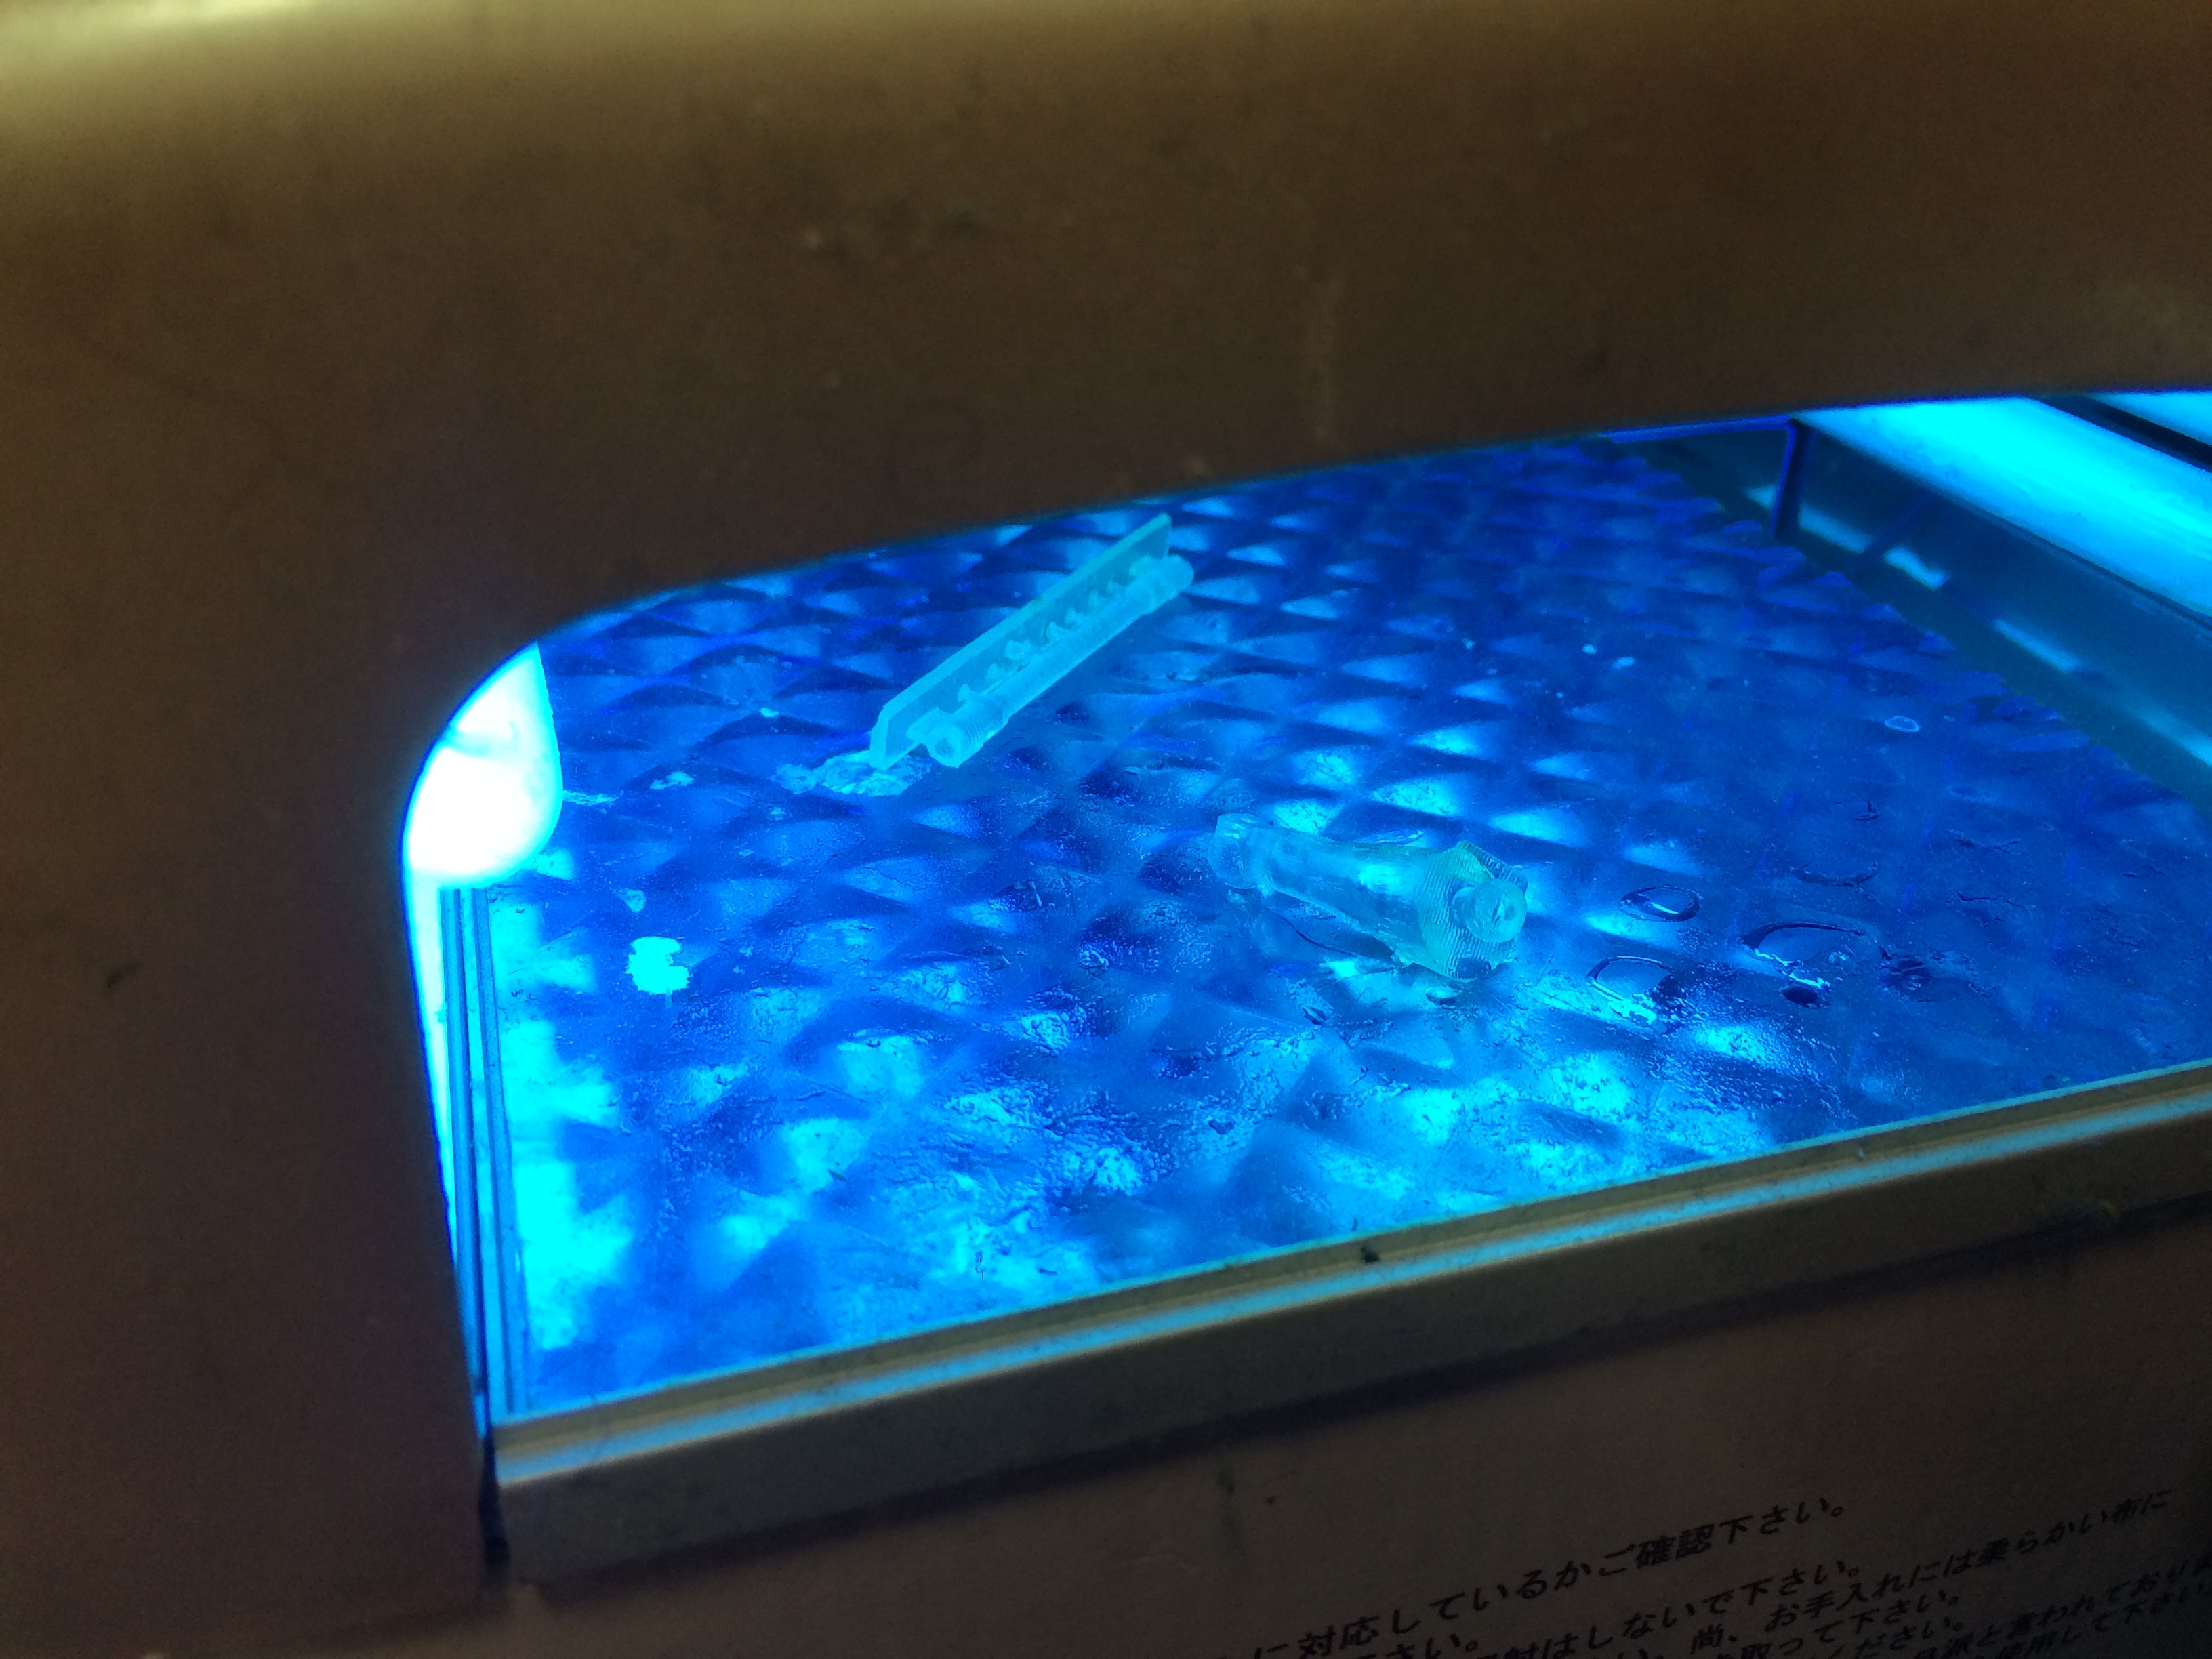
最後にネイル用紫外線ライトに入れて乾燥させれば完成です
Finally is complete if ask to dry put in a nail for ultraviolet light
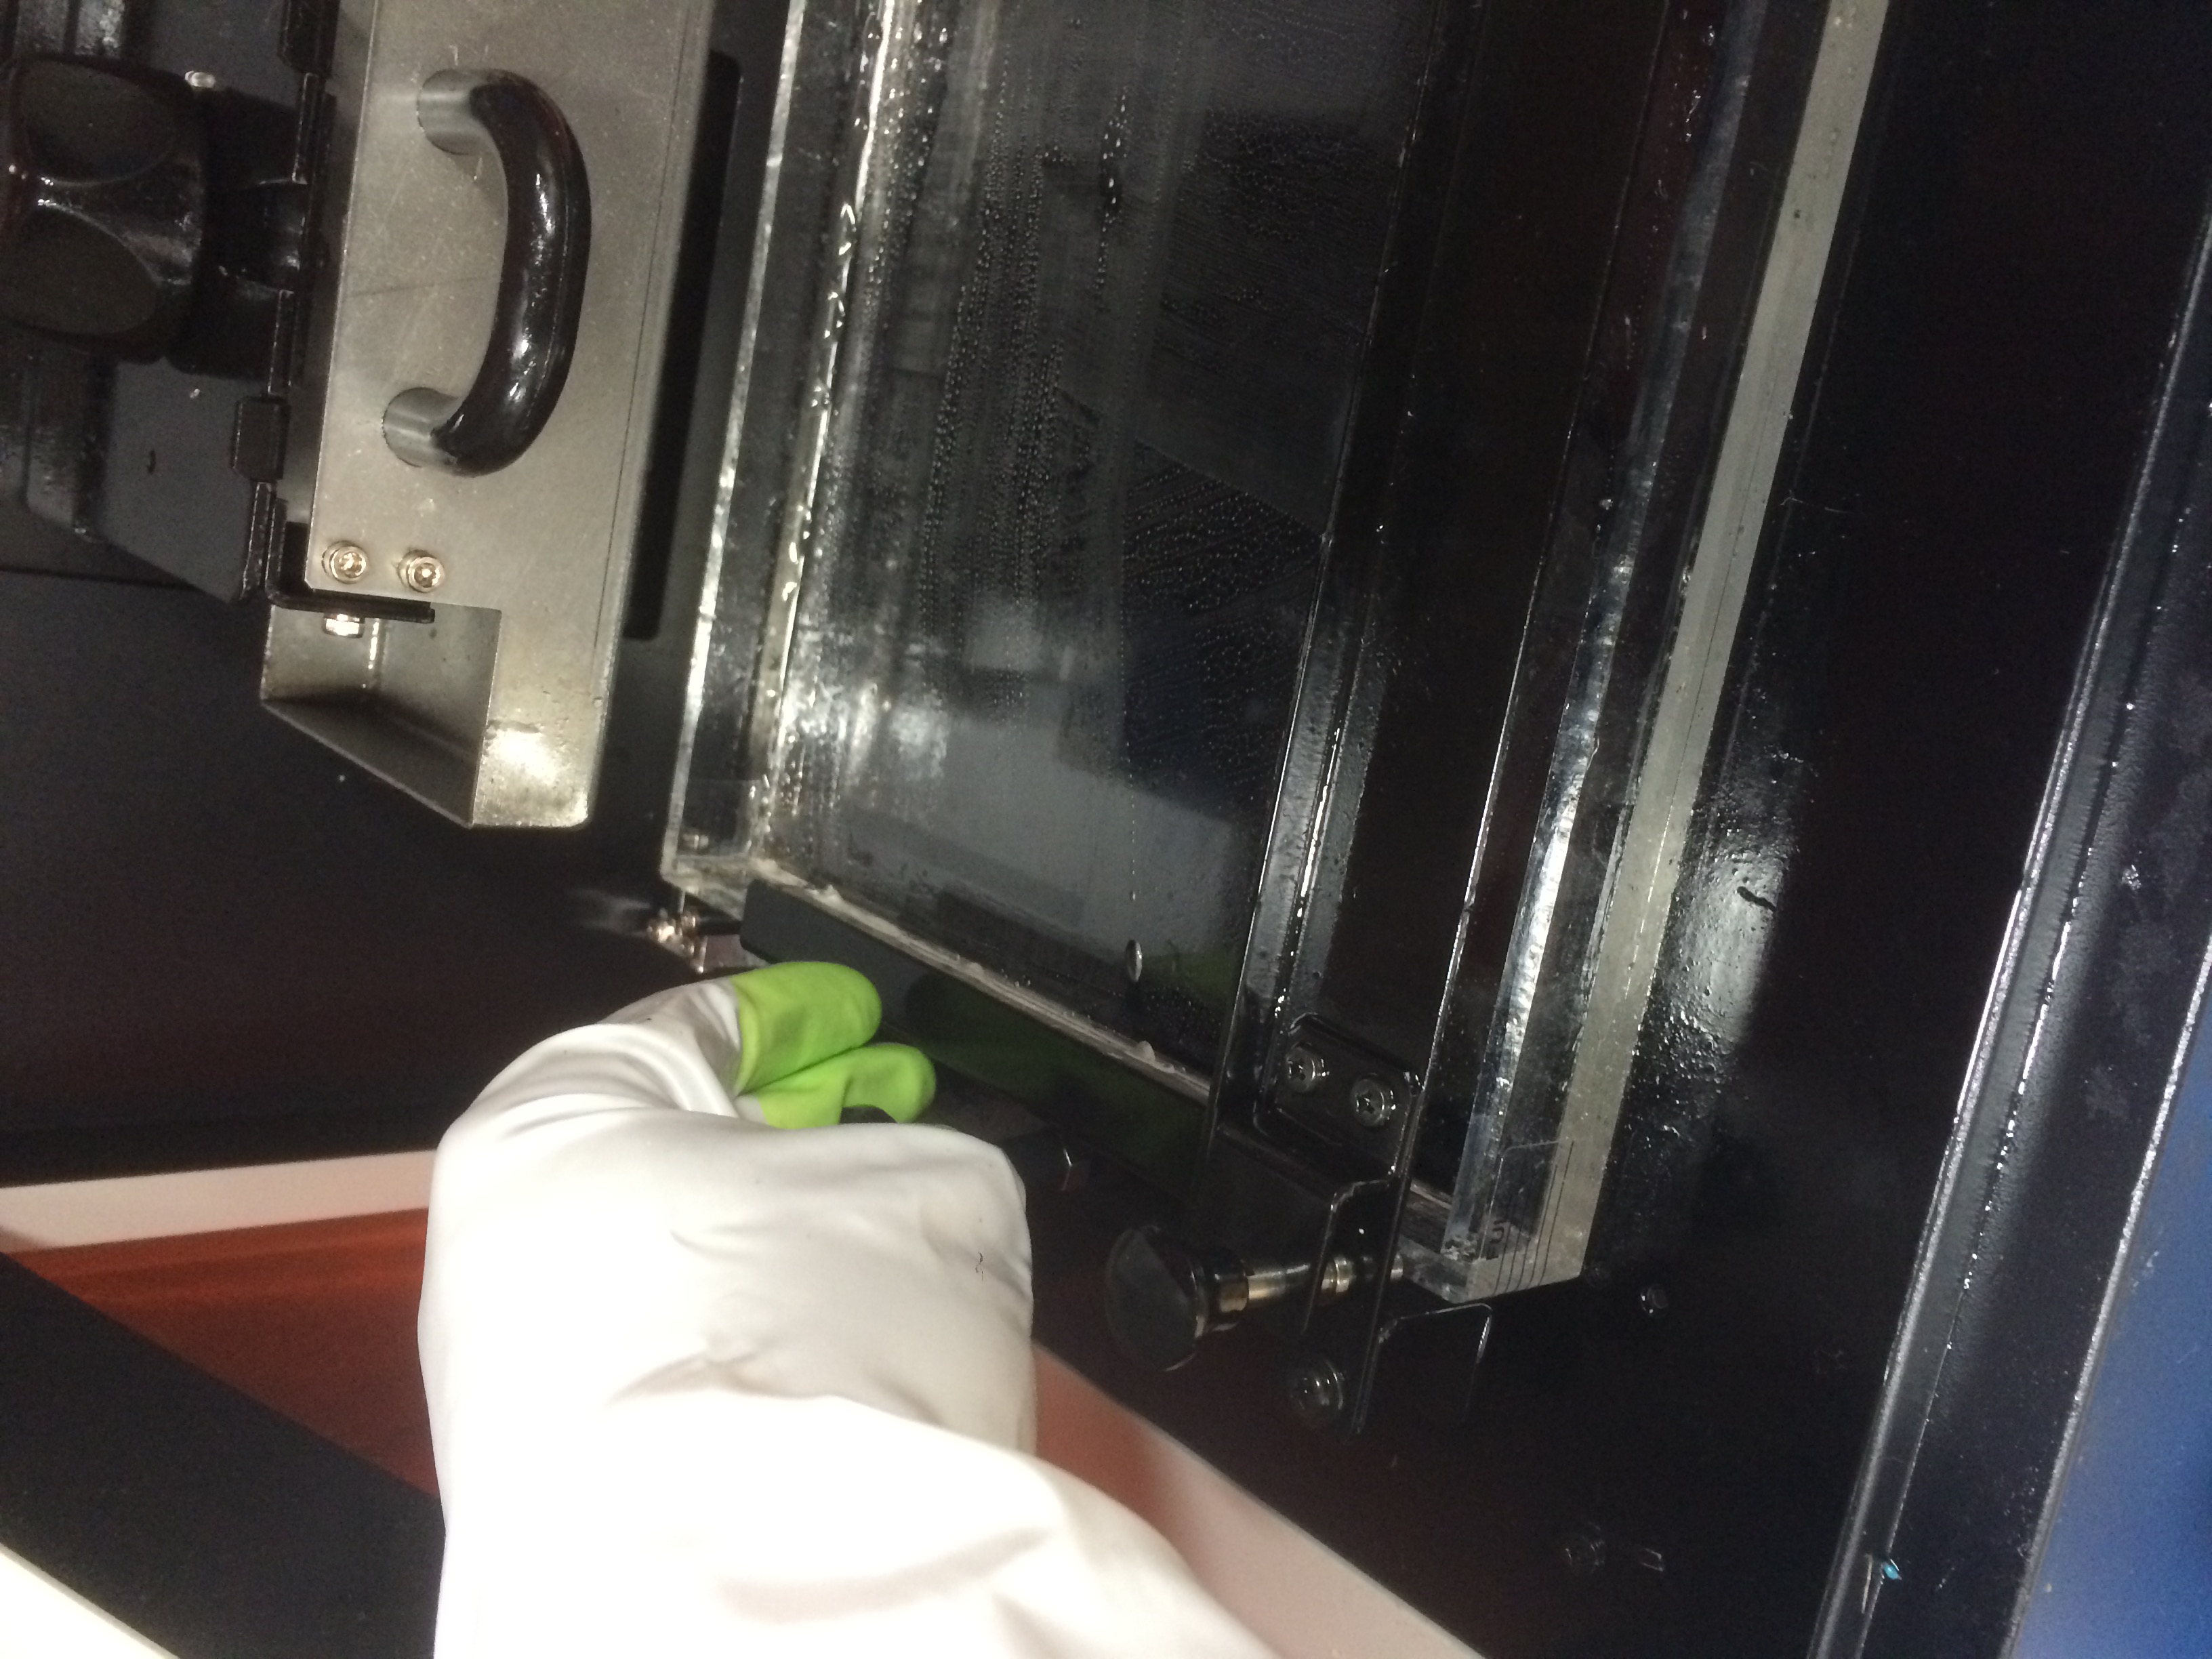
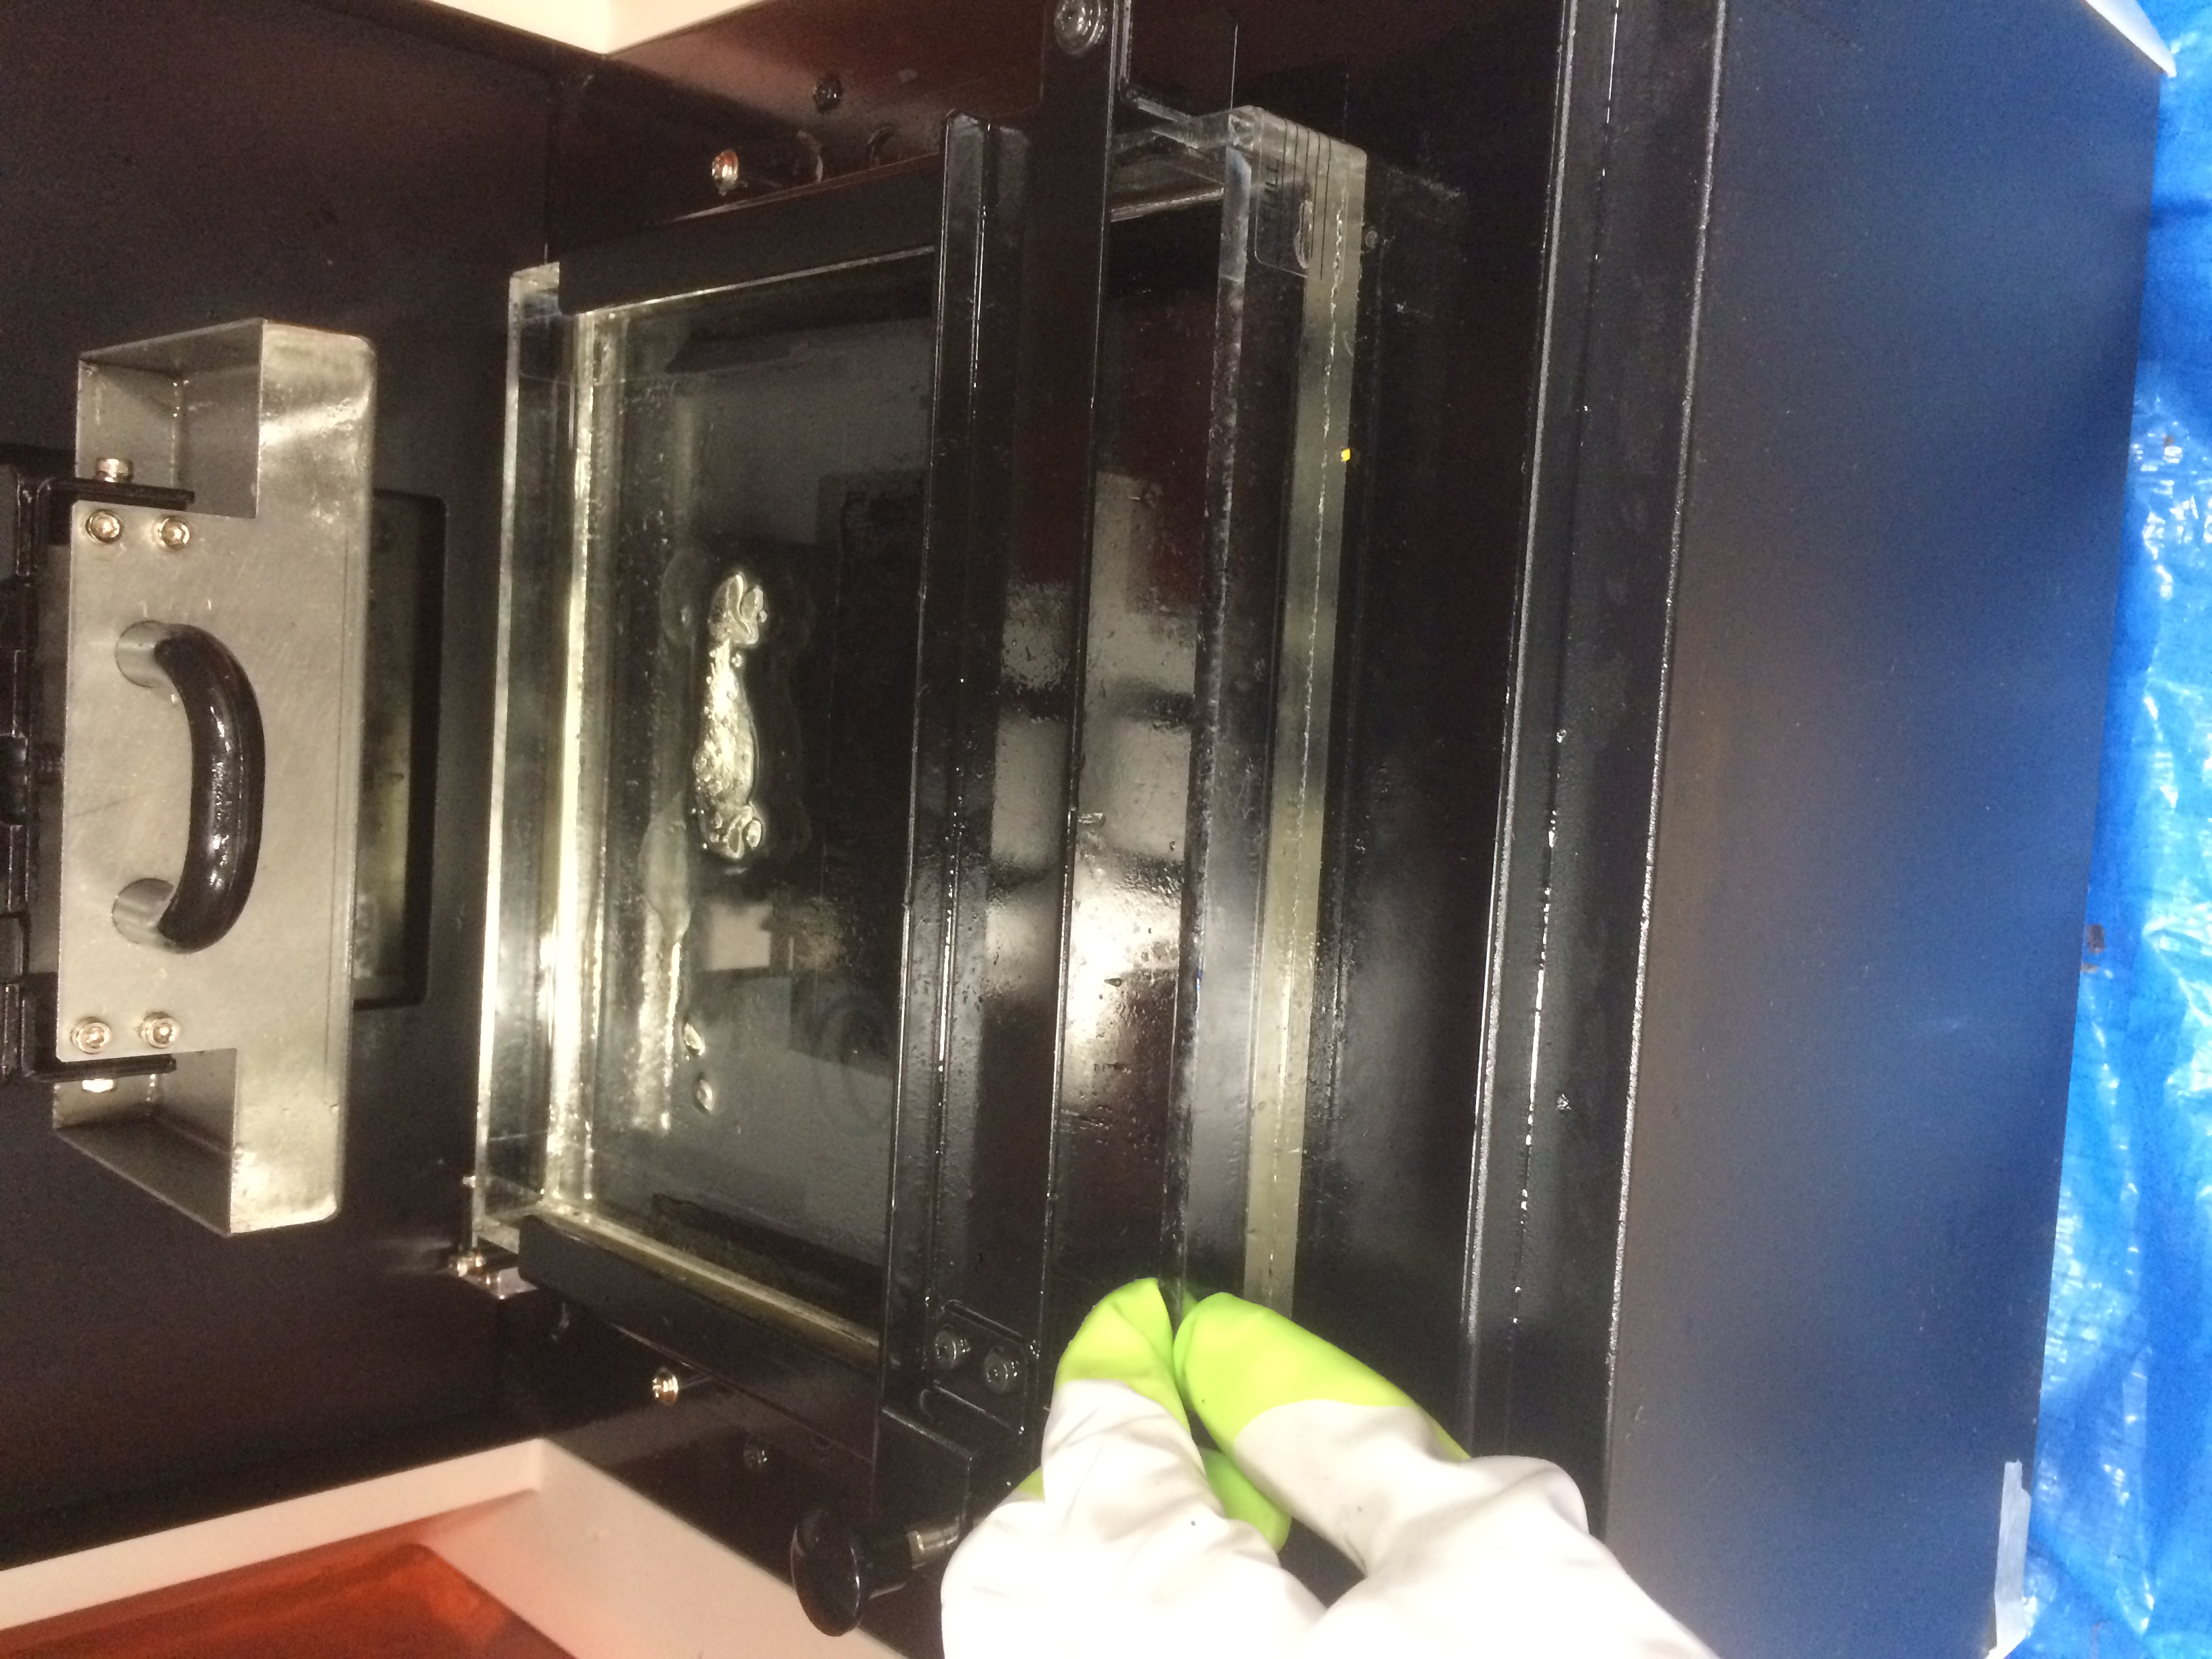
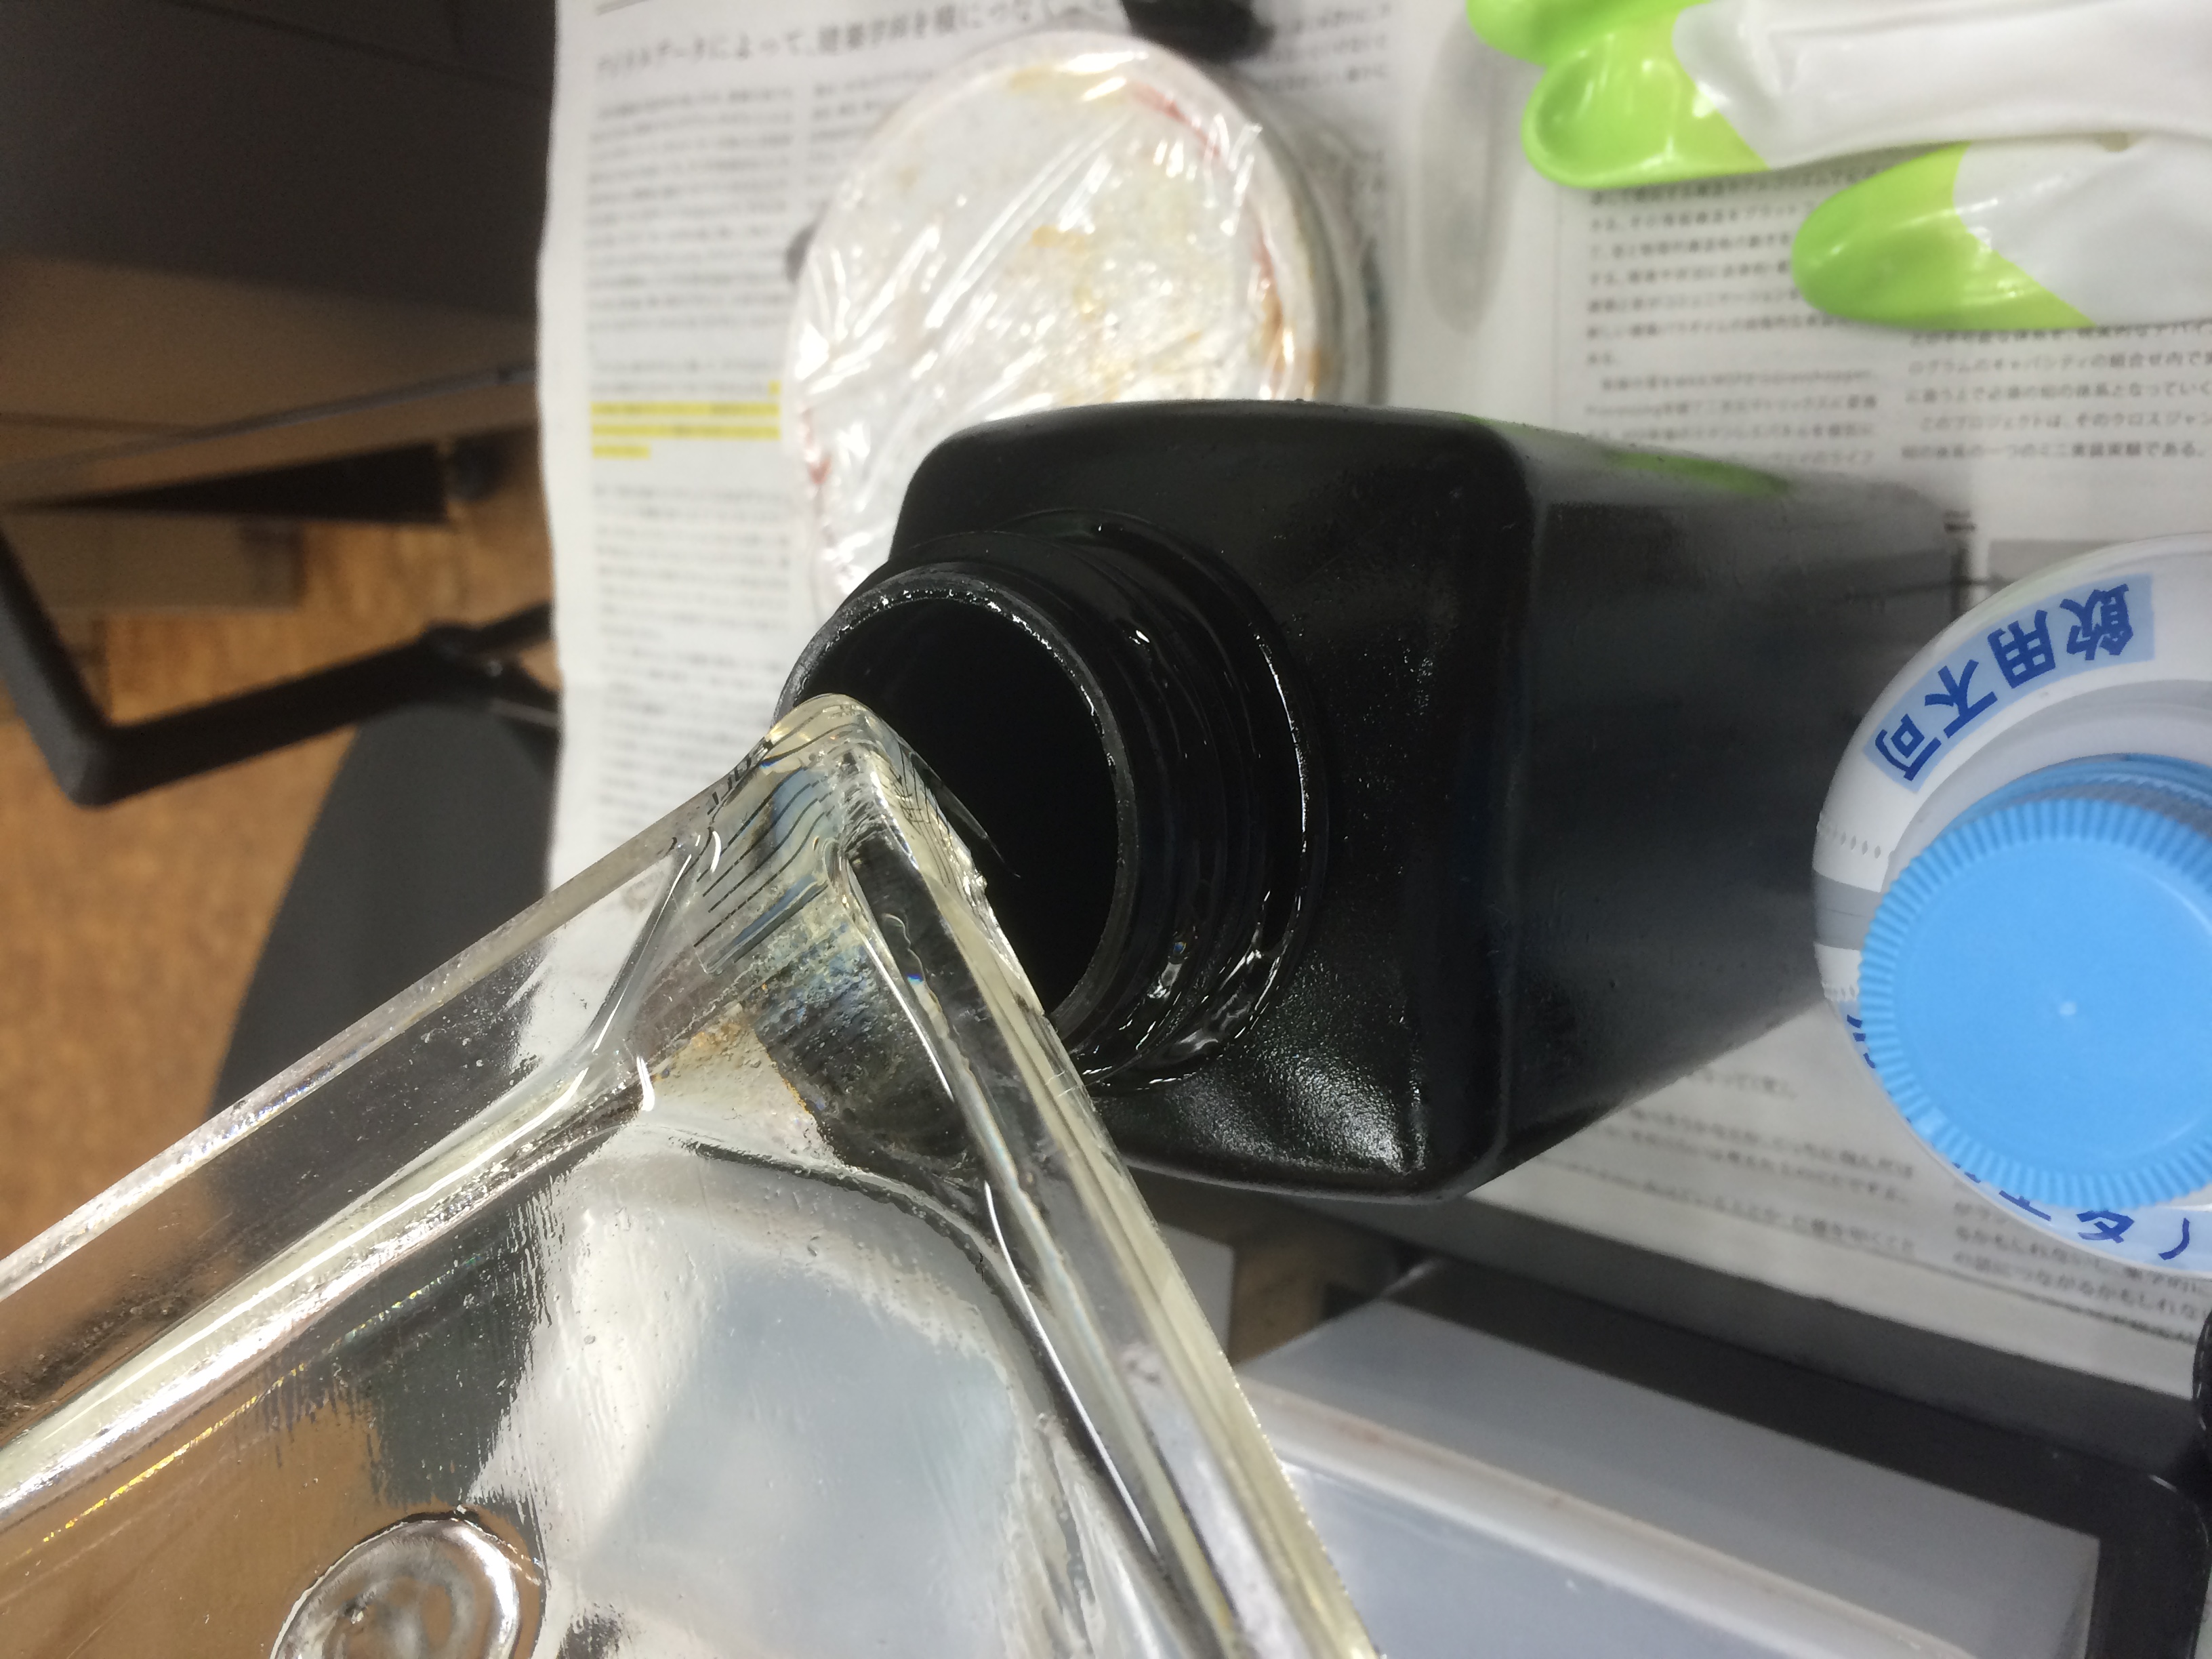
樹脂液槽に余った液は廃液入れに入れて、ヘラで綺麗に取り除きます
Liquid that was left over in the resin liquid tank is put in the waste put, cleanly remove with a spatula
使い終わった樹脂液槽は、エタノールを少量いれ、ヘラでまんべんなく広げて掃除をすると、次回の造形がうまく行きやすいです。
【追記】
2015年10月
◎消耗品
・樹脂
・トレー
※在庫が残り1つになったら、Roland DGのWEBサイトから直接注文してください。
http://www.rolanddg.co.jp/supply/index.html
・無水エタノール
・ゴム手袋
研究費から出る場合もあるので、購入前に相談しましょう。
◎廃液などの処理について
monoFABは廃液が出ます。素材が大変危険なものなので、水道に流したりゴミ箱に捨てることは御法度です。
[想定されるもの]
・使用済みトレー
・廃液
・廃液が混ざったエタノール
・液が入っていたパック
これらはRoland DGの方で廃液などの処理を行っています。
ゴミが増えてきたらこちらを利用してください。